
Updated: July 2026
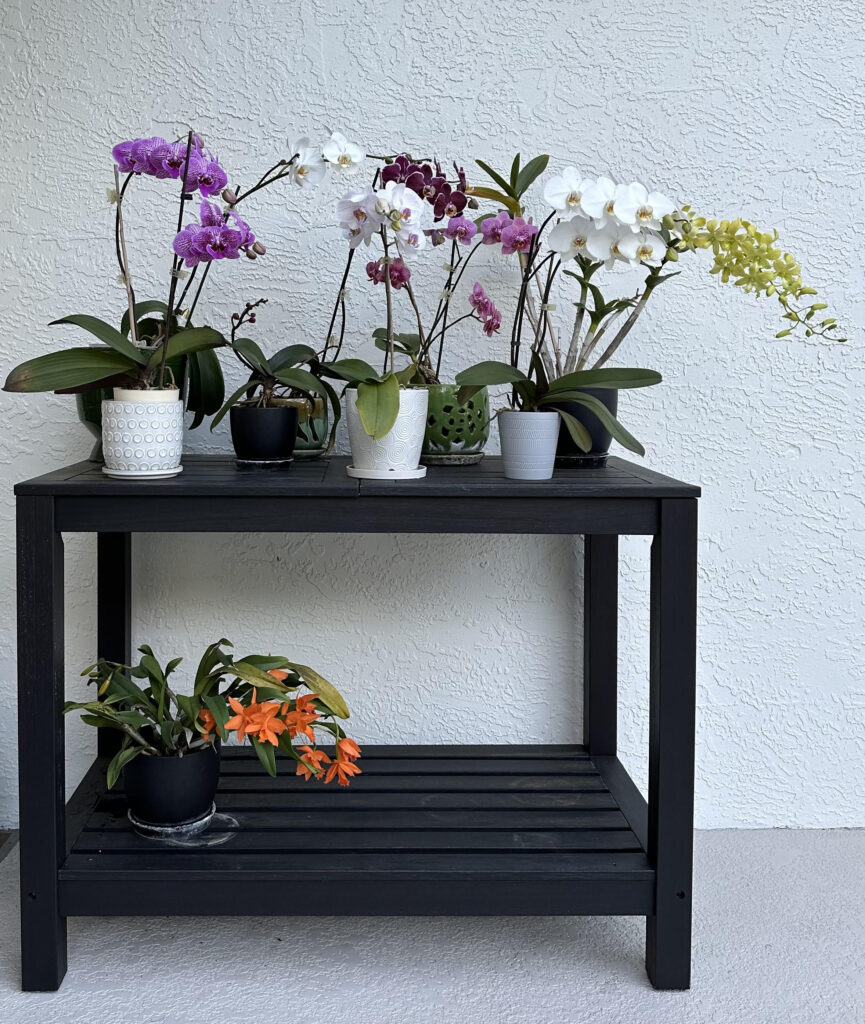
I have loved orchids for as long as I can remember. My fascination began decades ago while helping my mom care for hers, and I am still captivated by the different varieties and colors today. For years, I struggled to find a creative way to display my orchids. A standard potting table is easy and adequate, but I wanted something more elevated.
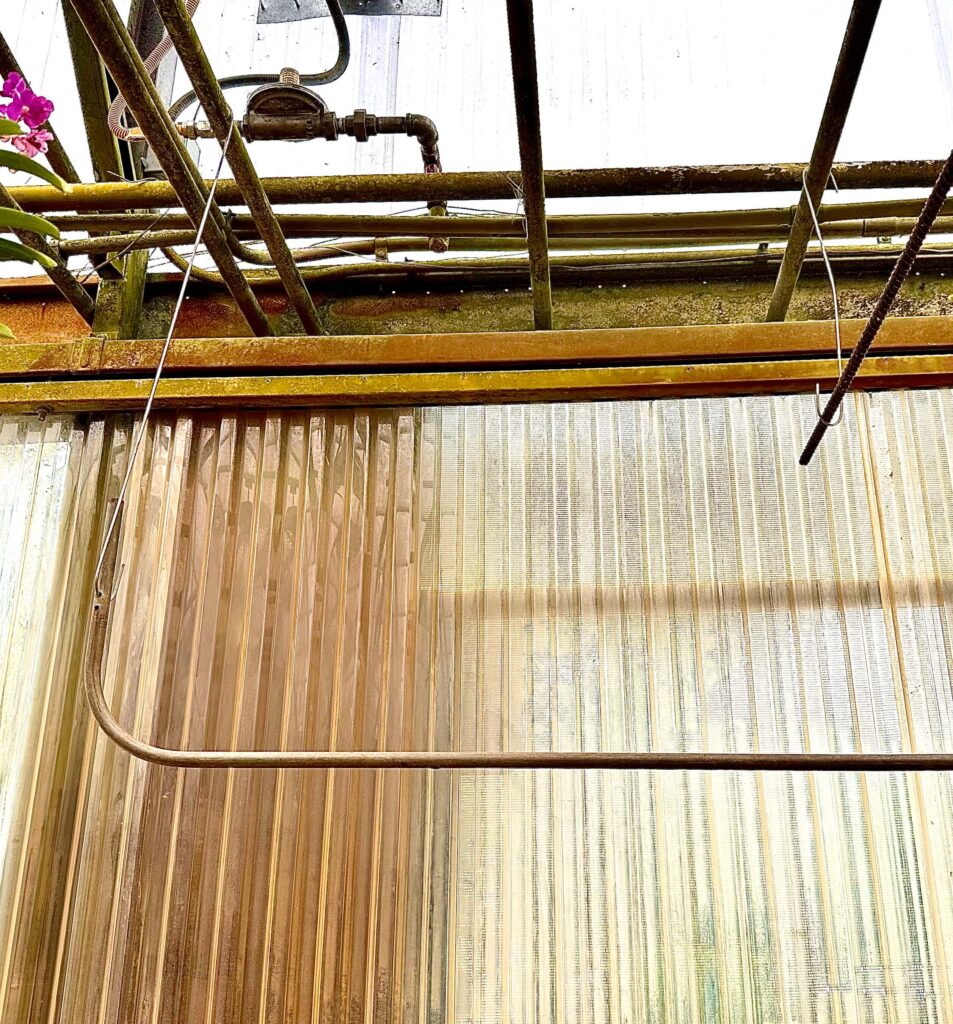
I found my answer at Goodwin Orchids in Leesburg, Florida. While admiring their vast collection, I noticed their display apparatus was nothing more than a simple metal rod. It was such an obvious solution that I could not believe I had not thought of it before.
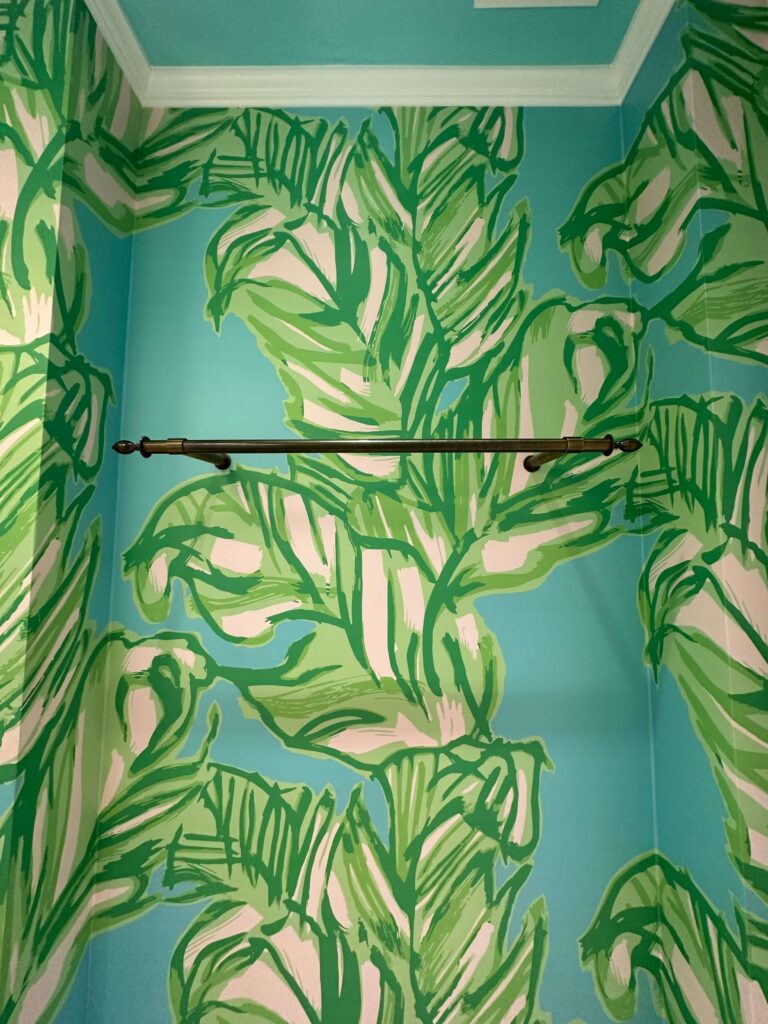
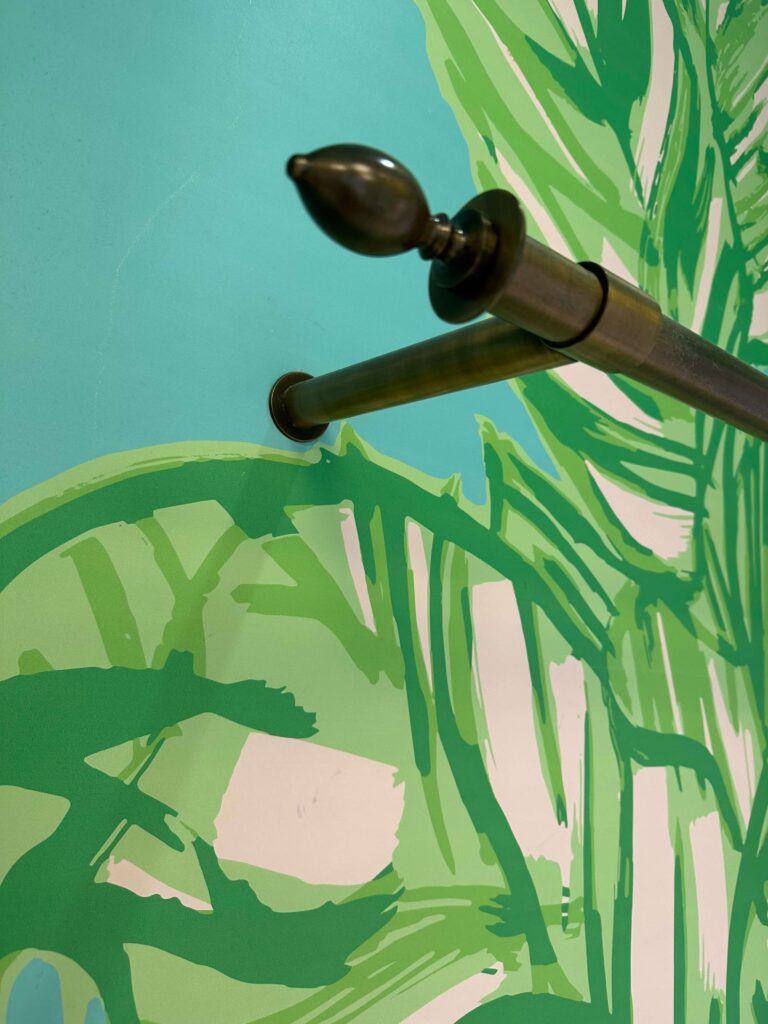
I filed the idea away for a couple of months. Then, while sitting in the dressing area of the Lilly Pulitzer store at International Mall, I found myself staring up at their gorgeous brass clothing rod. That was the moment my orchid rod vision came into focus.
I filed the idea away for a couple of months. Then, while sitting in the dressing area of the Lilly Pulitzer store at International Mall, I found myself staring up at their gorgeous brass clothing rod. That was the moment my orchid rod vision came into focus.
Planning the Rod
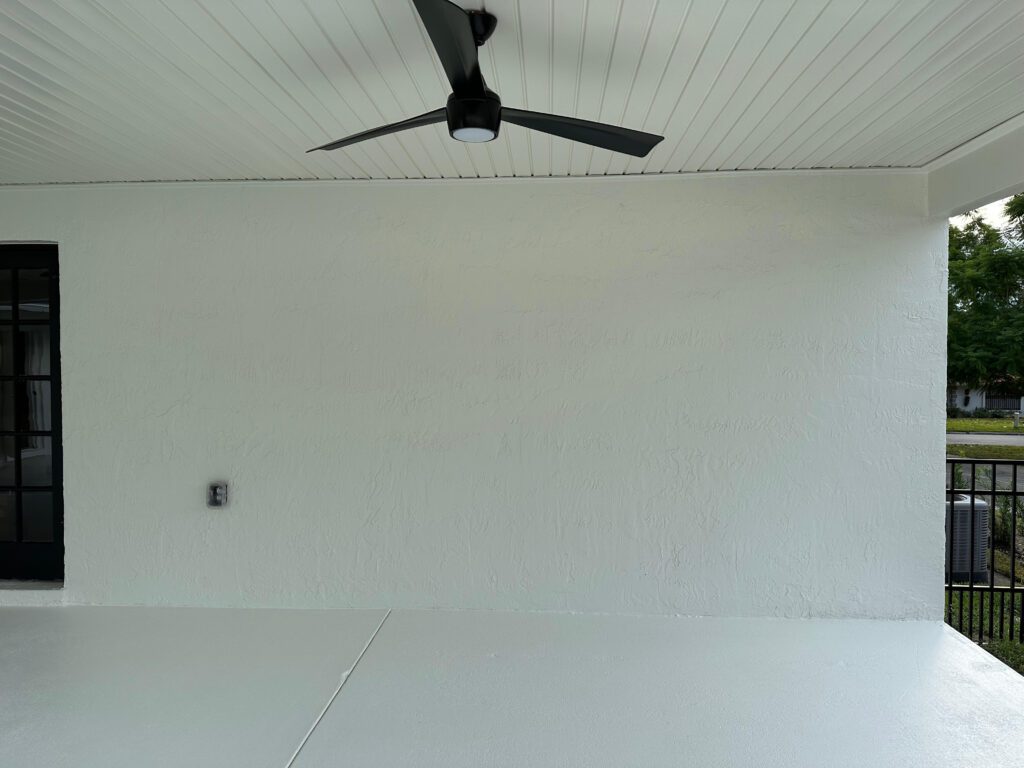
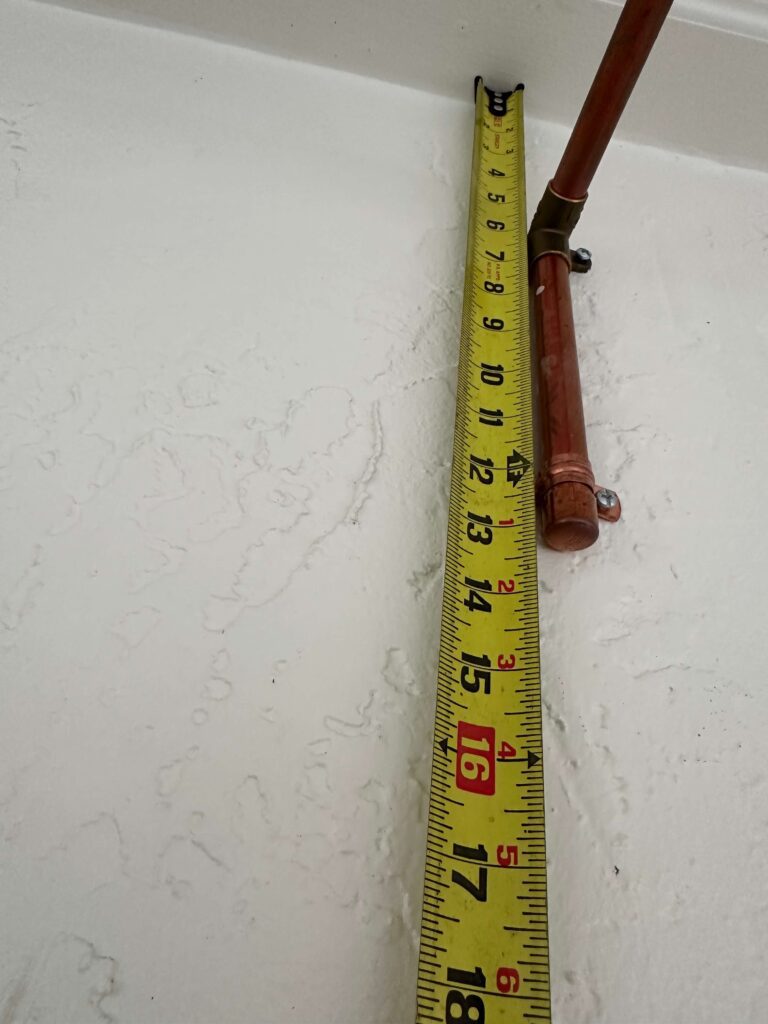
Back at Casa Rosa, I began taking measurements and planning placement. The porch wall from the french door to the exterior wall measures 16 feet 10 inches. Centering the rod was simple. I subtracted roughly 3 feet from each side, leaving room for a 10 foot rod. I wanted it mounted as high as possible, so I placed it 6 inches below the 8 foot ceiling.
Choosing Materials
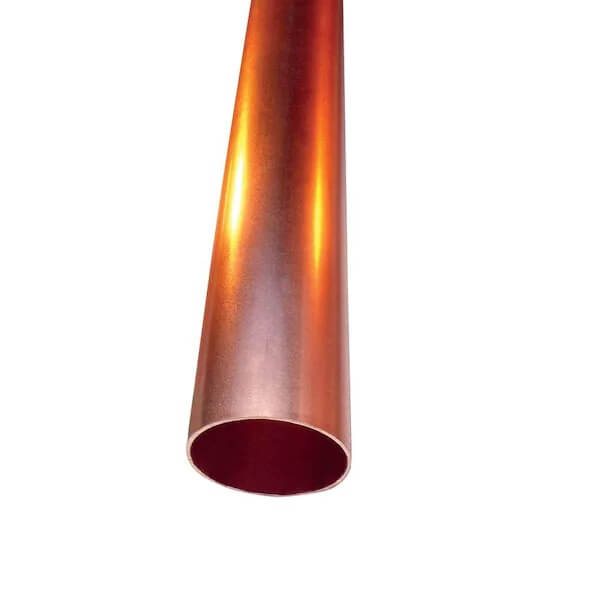
Copper piping was an easy choice since it blends beautifully with the brass hardware on the french doors. I narrowed the pipe options to either a half inch or three quarter inch diameter. I initially leaned toward the three quarter inch for a bolder statement, but ultimately chose the half inch piece for its lighter weight.
The Hardware
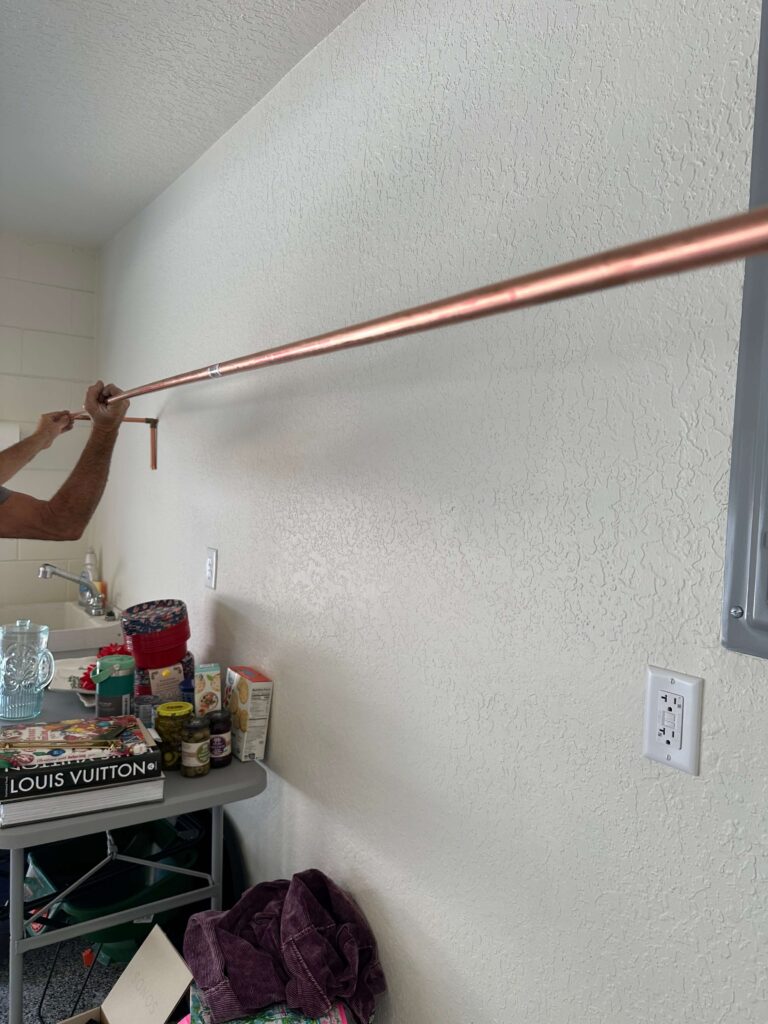
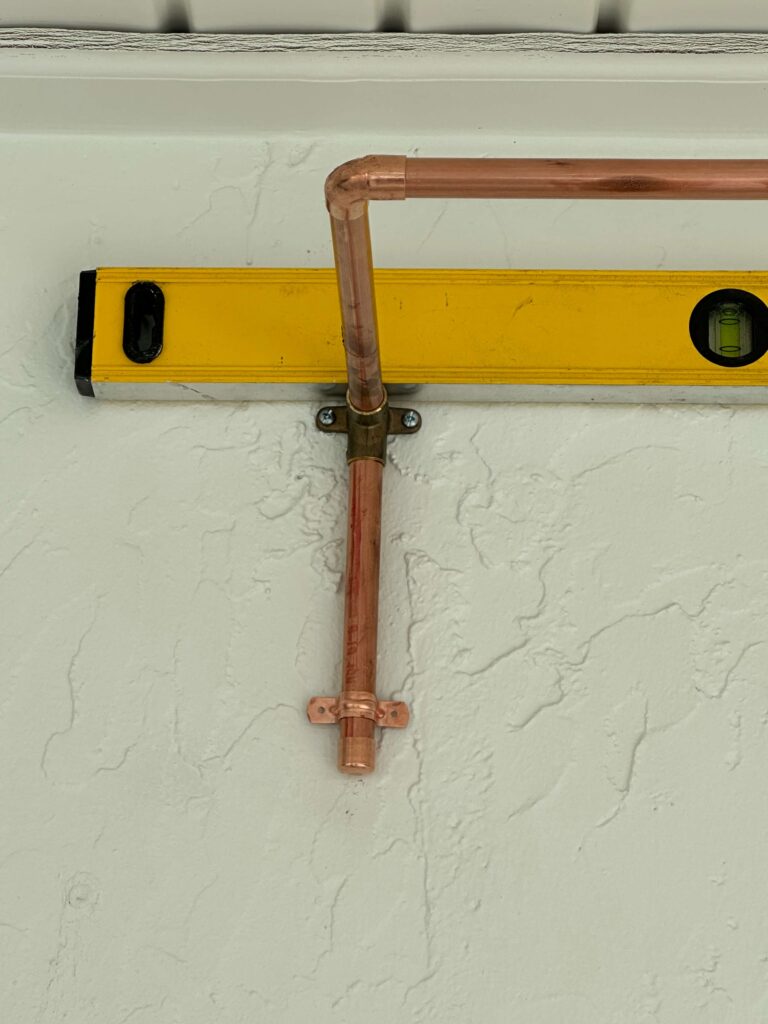
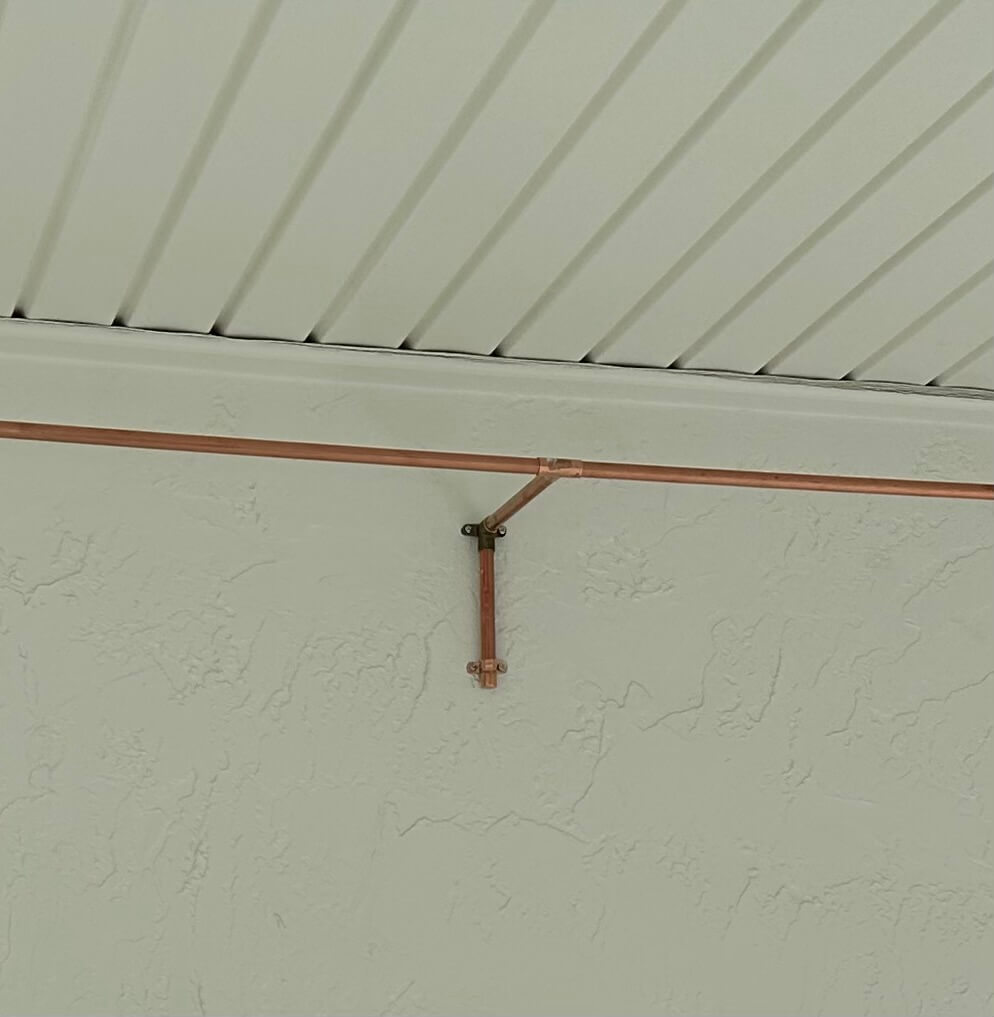
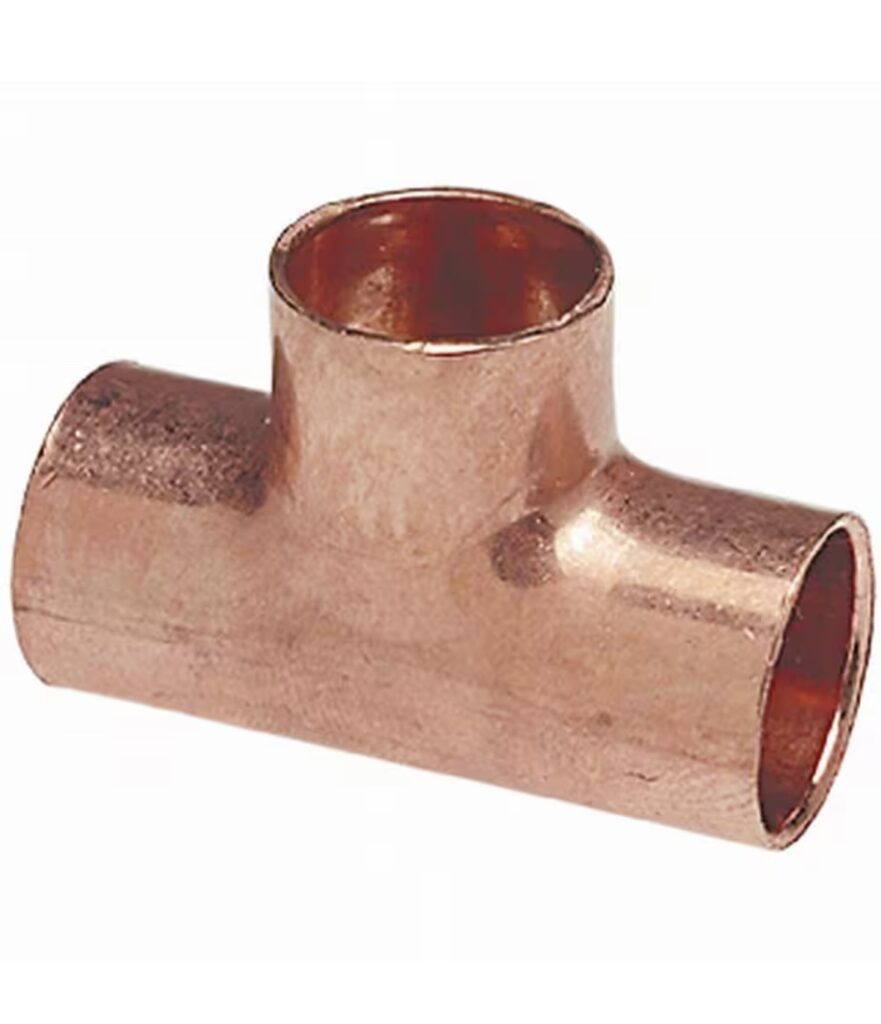
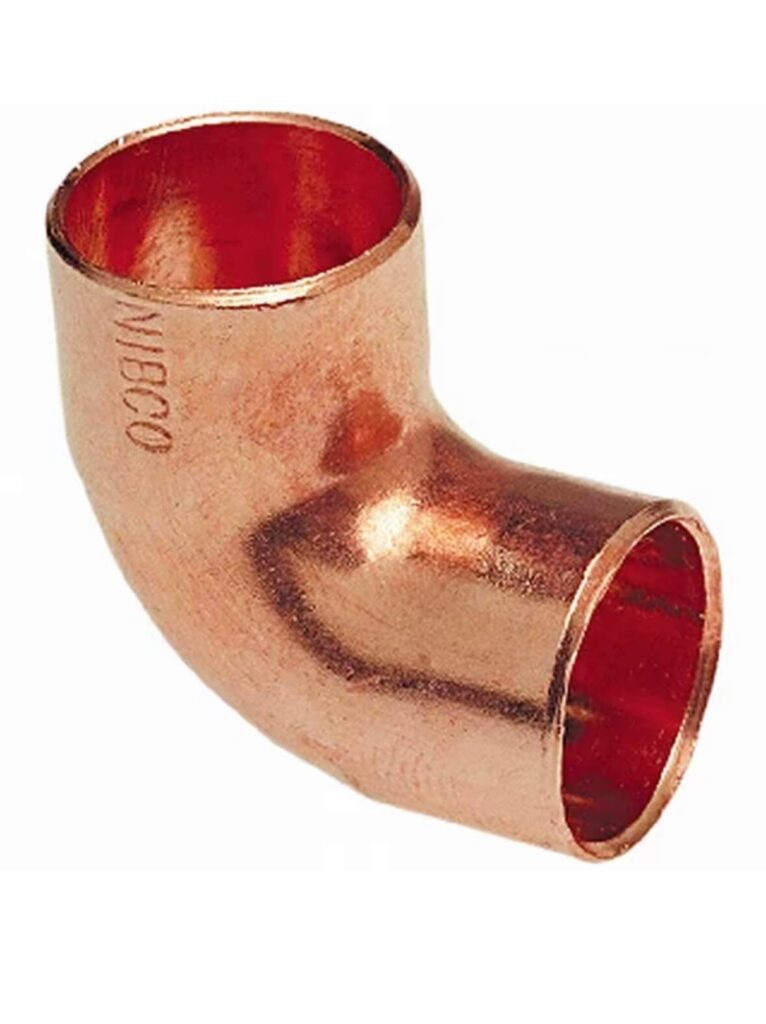
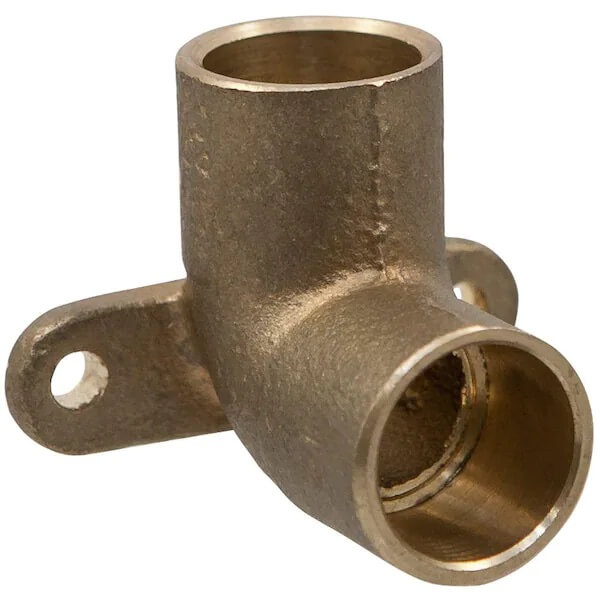
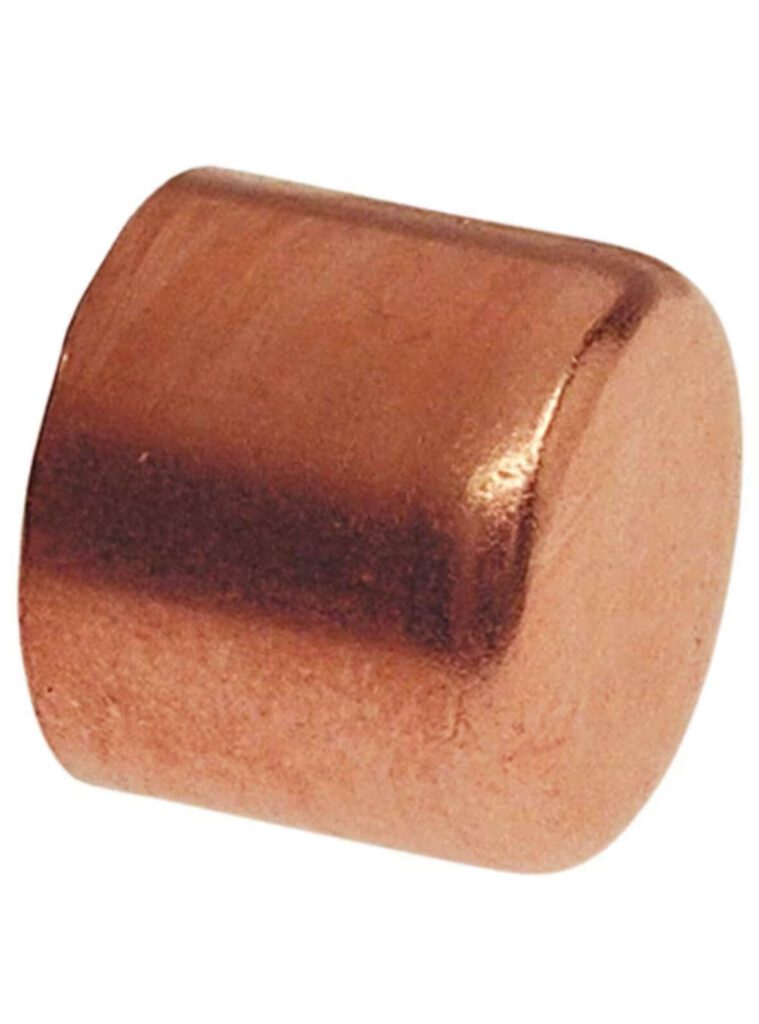
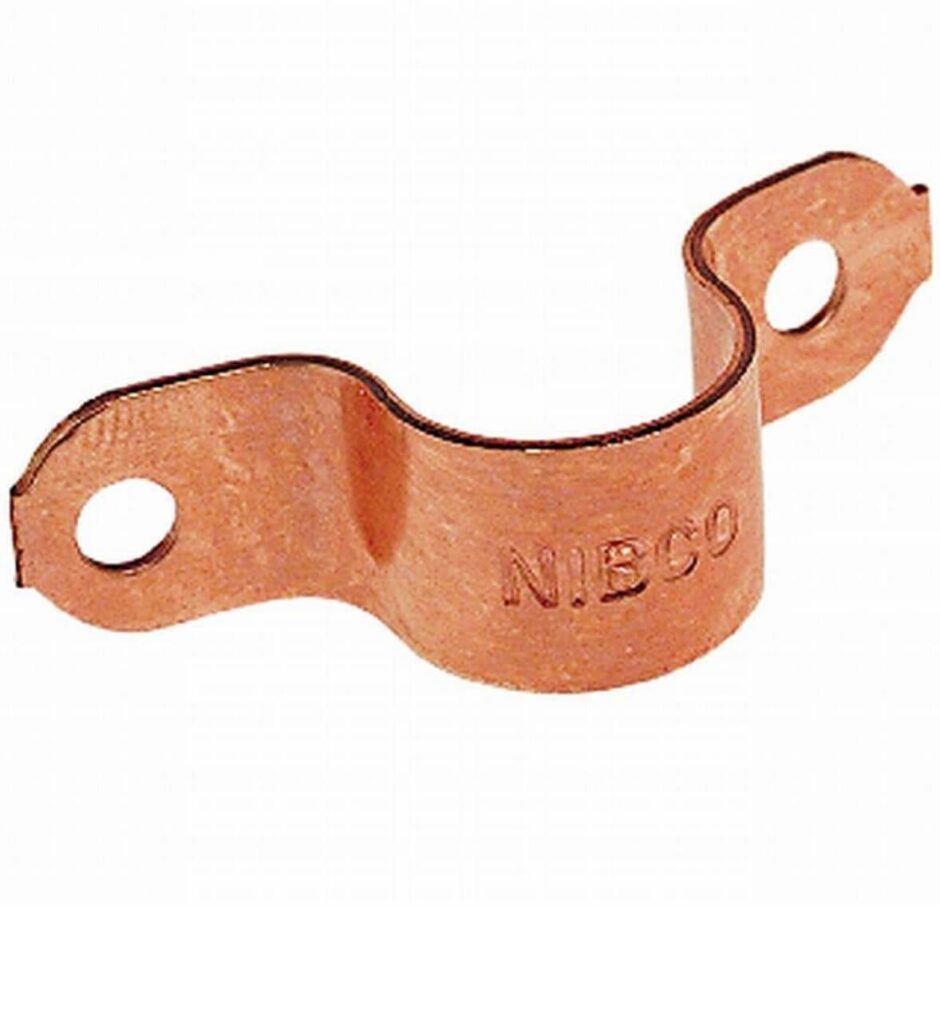
To secure the rod, I used cup tee fittings to attach the center and ends of the rod to the perpendicular pipes on the wall. Cap fittings sealed each end of the wall-mounted pipe, and elbow fittings connected the rod to the pipes extending from the wall. Ear cup fittings attached the wall pipes to the perpendicular pipes, with the center fitting providing extra support similar to a curtain rod bracket. As a final, purely decorative touch, I added copper tube straps at the base of the wall pipes.
You can find all of these components at most hardware stores in the plumbing aisle, and a specialist there can help you match fittings to your rod length and wall configuration.
Ready to Hang
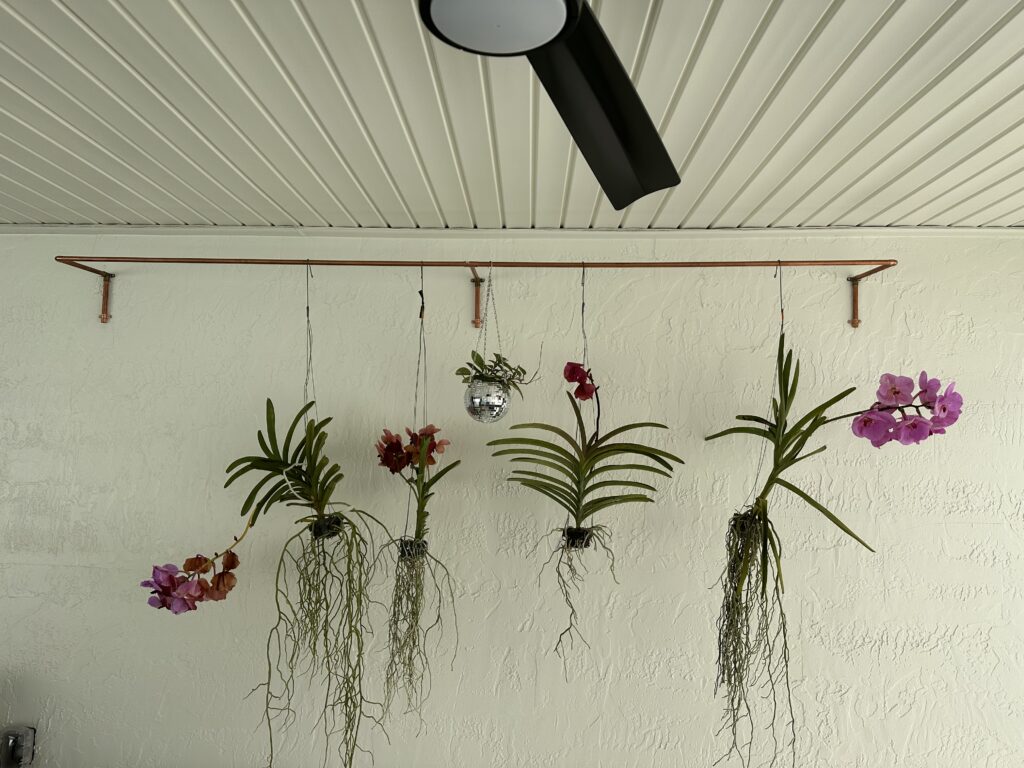
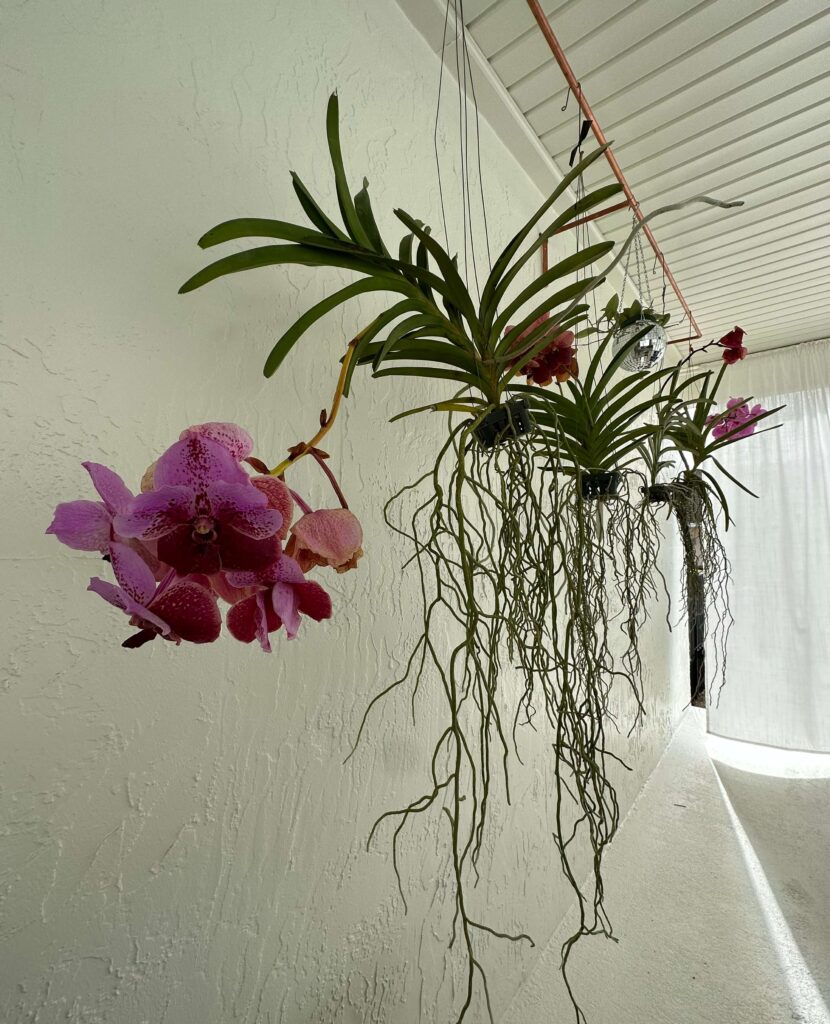
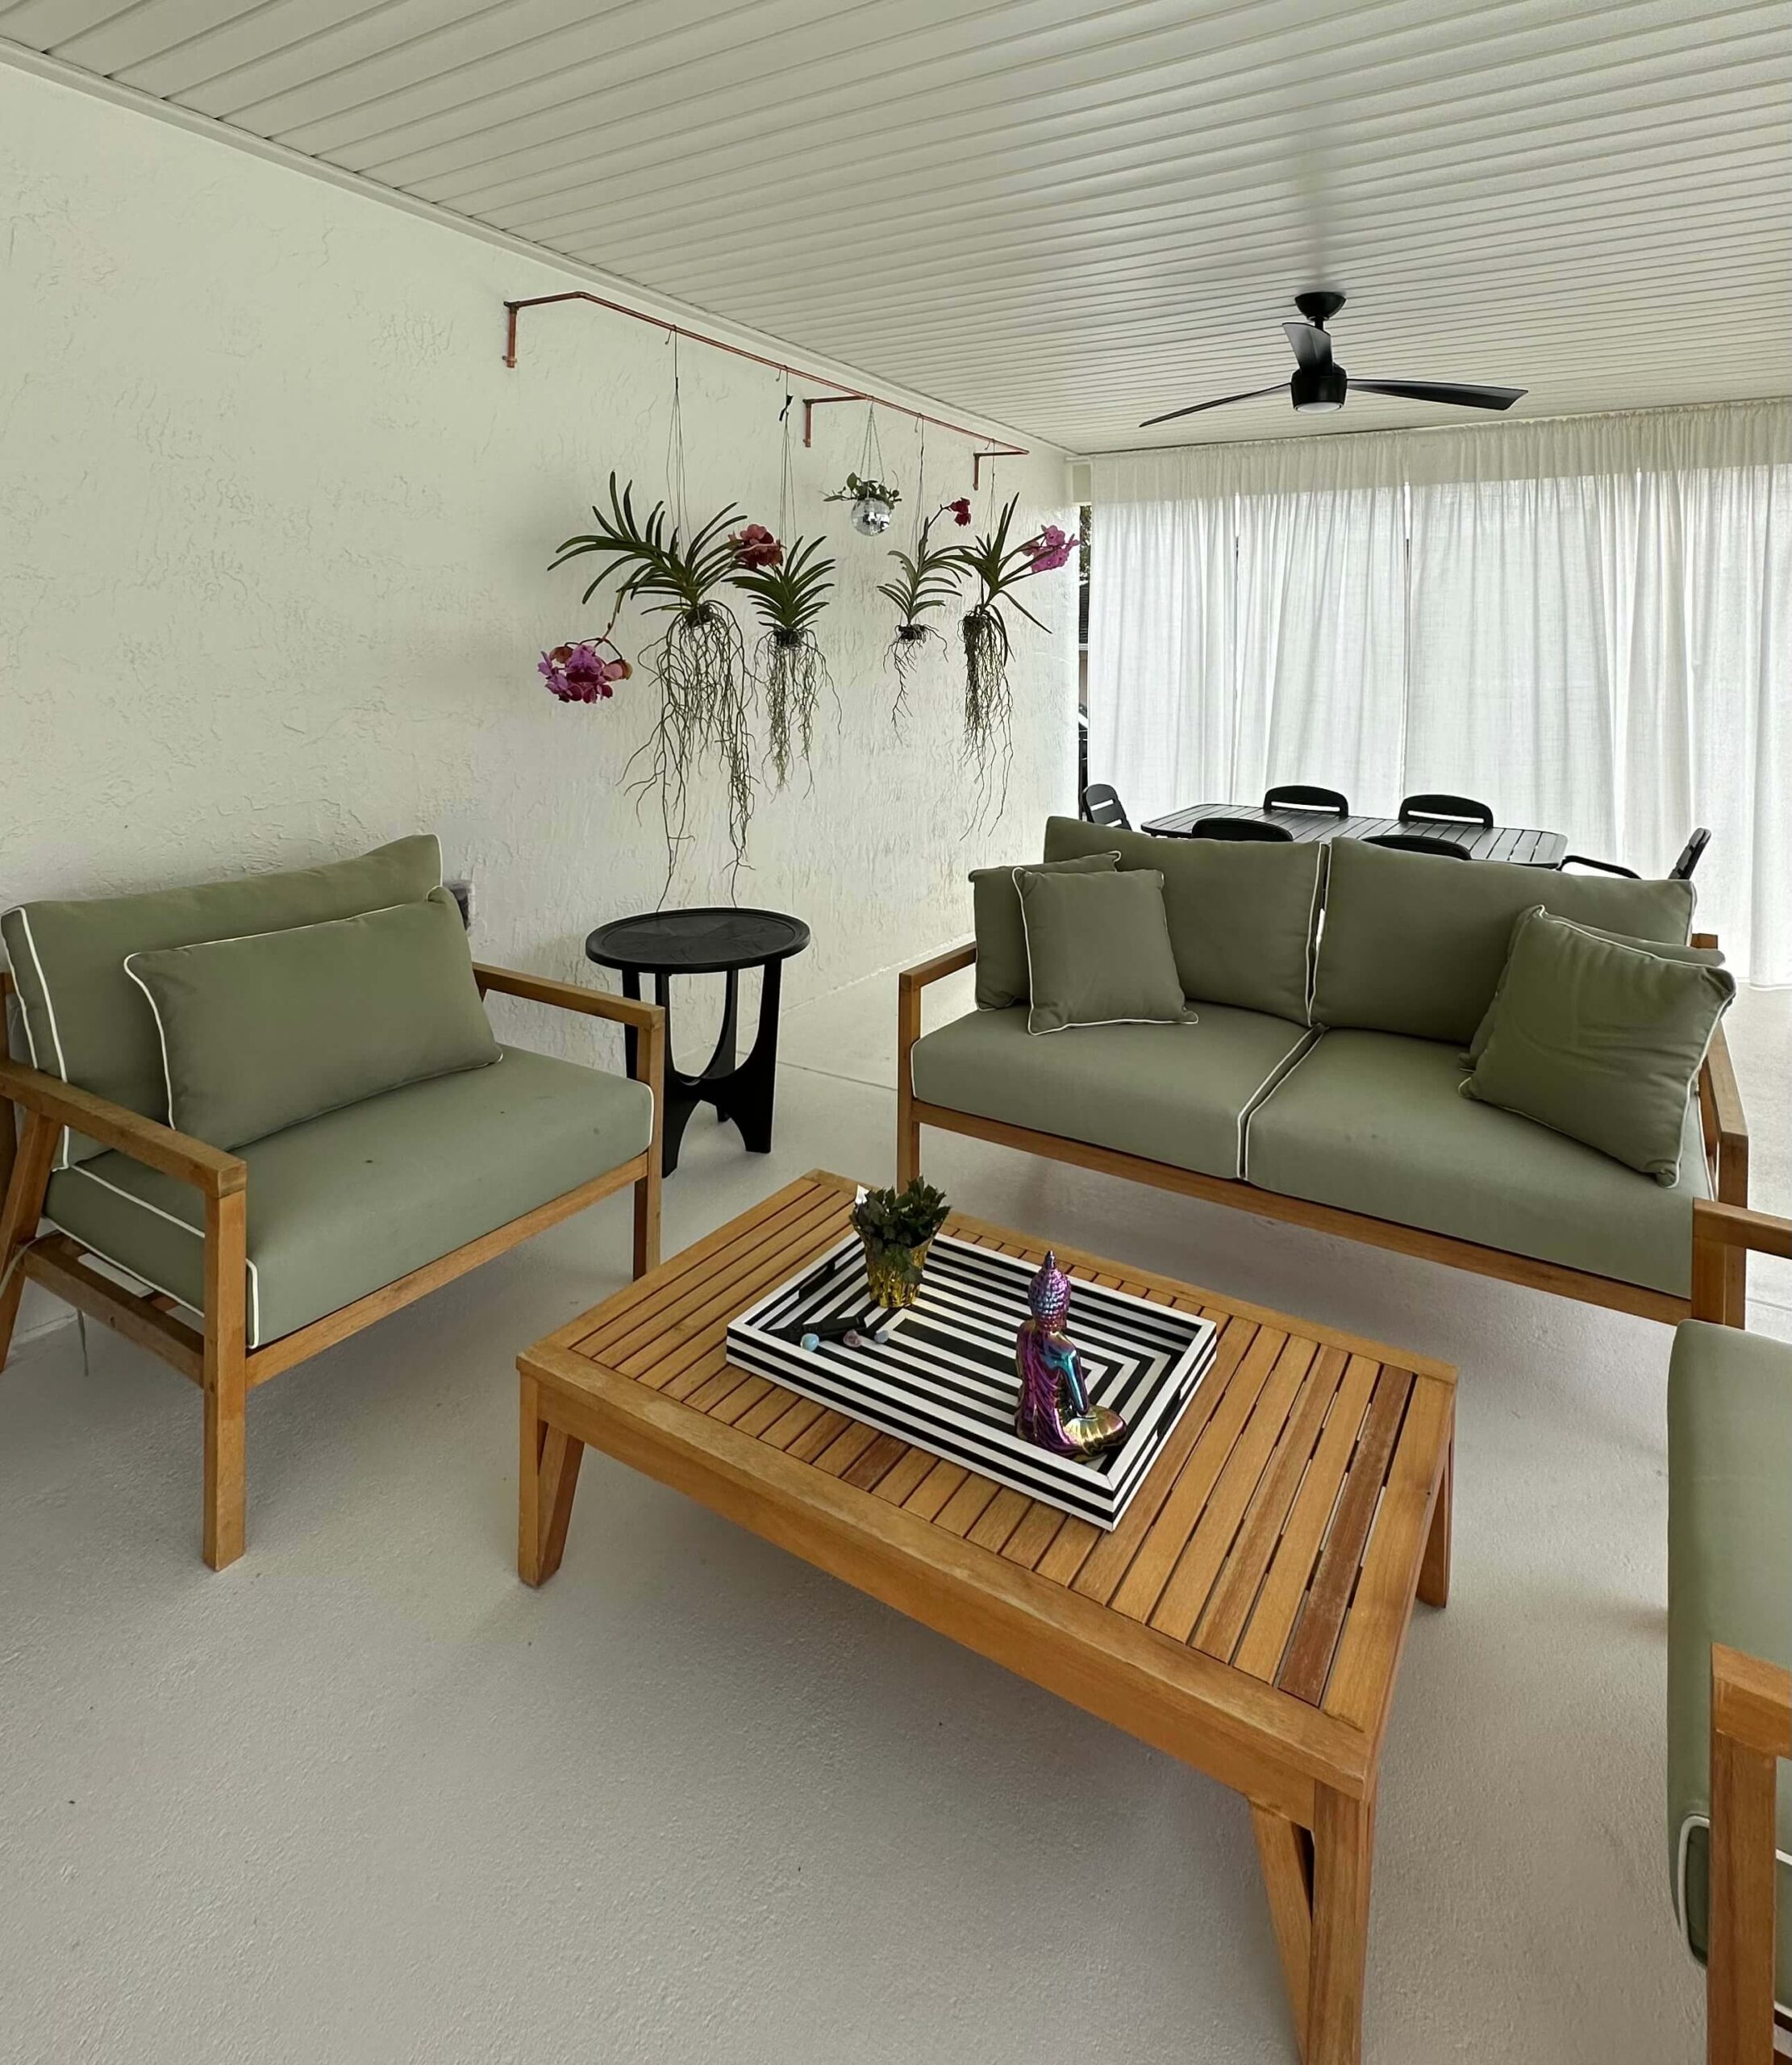
With the hardware installed, the rod was ready for orchids. It has become one of my favorite details on the Casa Rosa porch, right alongside the IKEA curtains we installed for lanai privacy while the podocarpus hedge filled in.
Casa Rosa Close
Casa Rosa is an ongoing love story between an old house and a lot of good ideas. From dusty rose paint to the details that make a space feel like home, I am documenting every step of the renovation and styling journey right here on the blog. For the full stage by stage story of the porch this rod lives on, read Casa Rosa Backyard and Pool Deck Remodel: My Insider Guide. For more projects around the house, see Casa Rosa Powder Bathroom Renovation: My Insider Guide, How to Design a Sensational IKEA PAX Closet: My Insider Guide, and Best Dusty Rose Paint Colors: My Insider Guide to This Timeless Shade.
— izzy