
Updated: August 2026
This website uses affiliate links which may earn a commission for purchases at no additional cost to you.
The design for the primary closet at Casa Rosa began before closing. Actually, it began during the open house tour. That is how obvious the potential was from the very first walk-through.
The primary suite provided two closets. A 2 by 5 foot standard reach-in closet with a single clothing rod, a shelf, and a set of louver bifold doors was located at the entrance of the suite. A 6 by 6 foot walk-in closet with a wraparound clothing rod, two shelves, and a louver bifold door was located to the rear of the bedroom within the bathroom area.
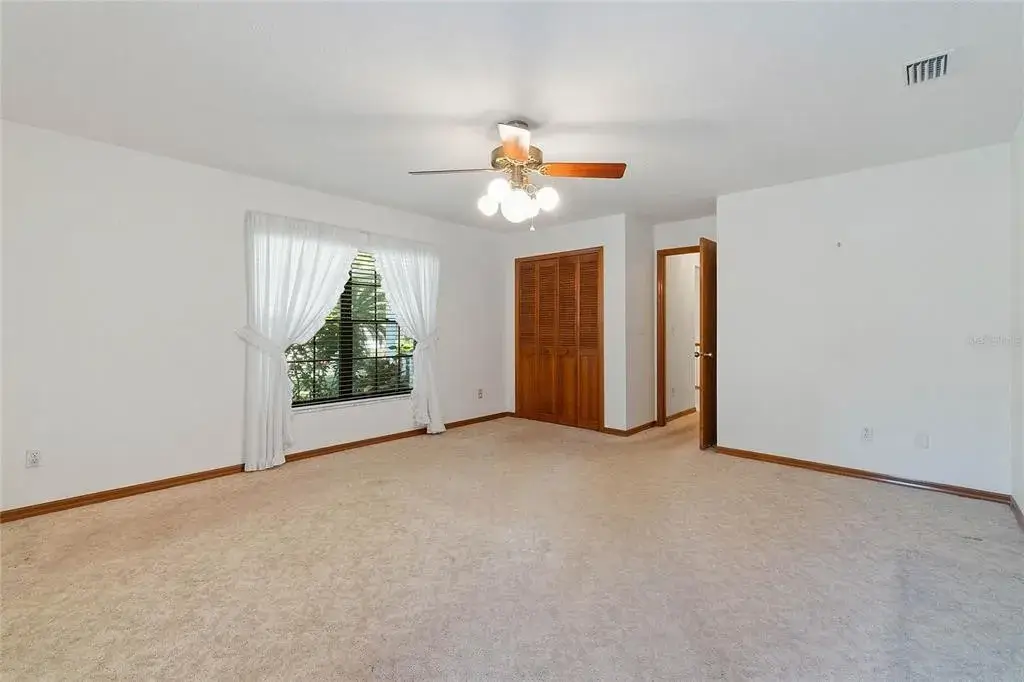
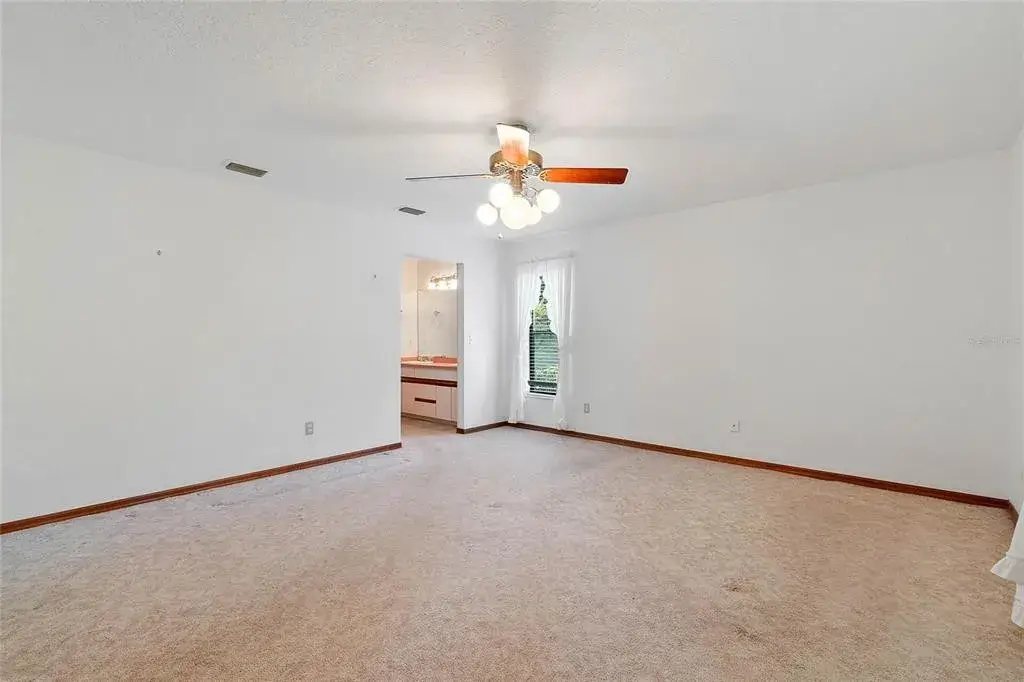
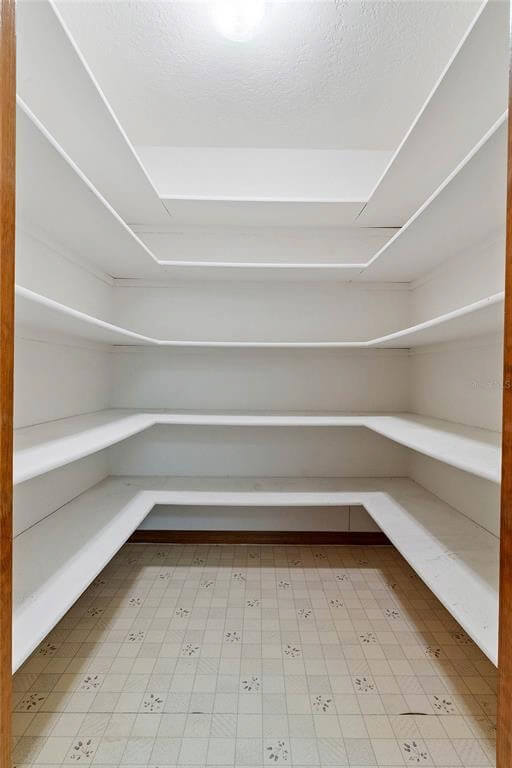
The reach-in closet was demoed and the square footage was added to the bedroom, leaving only the walk-in closet. Unfortunately, that closet was not large enough. Fortunately, behind the closet and sharing a wall was a massive pantry mimicking the size of the closet. The adjoining wall was knocked down and the closet gained an additional 4 feet, upping its size to a respectable 10 by 6 feet.

The Research Phase
Prior to the closet design, countless blogs, articles, Instagram reels, and Pinterest pins were scoured and details were noted. The idea of designing, building, and filling a custom closet was genuinely thrilling. The first obstacle was the width of the closet at 6 feet.
The IKEA PAX towers are only sold in 22 inch and 13 inch depths. Using 22 inch deep towers on both sides of the closet provided only 28 inches of clearance between towers, making it too shallow to open drawers comfortably.
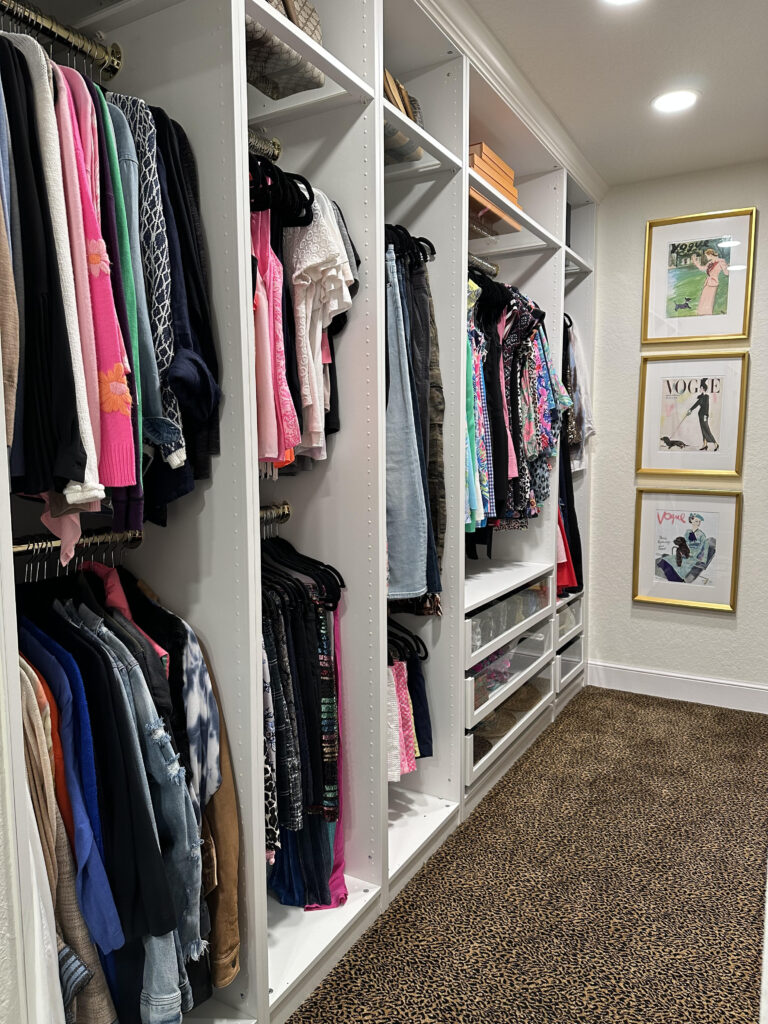
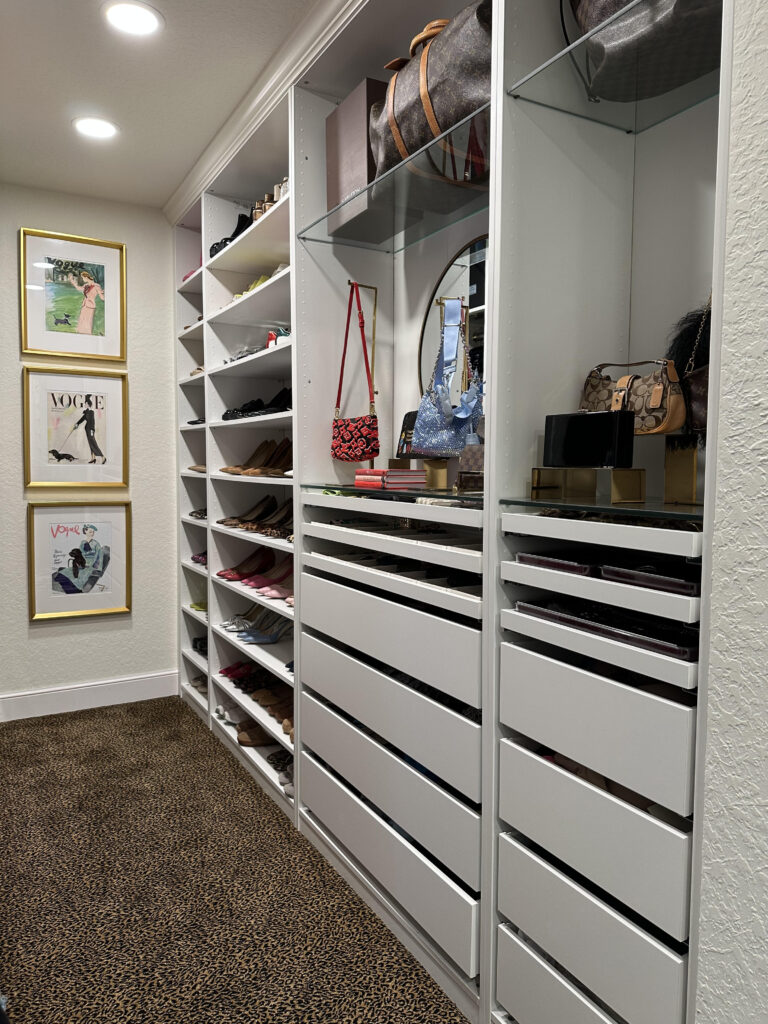
So it was settled. The left side would house the 22 inch deep towers for hanging clothes. The right side, seen first when entering the bathroom vestibule, would house the 13 inch deep towers for shoes, handbags, and jewelry.
Once you narrow down the height and depth, all you need to play around with is the width.
Planning the Layout
With pen to paper the first glimpse of the closet came to life. The generous length allowed for one 39 inch tower and four 19 inch towers, filling approximately 115 inches of the 120 inches available on the left side. In actuality the IKEA PAX units measure 39 3/8 inches and 19 5/8 inches.
The five towers totaled approximately 118 inches, leaving a 1 inch gap on each side of the end towers, a small space covered with trim. The right side of the closet allowed for two 39 inch and two 19 inch towers with approximately the same gap on both sides.
The ceiling height was 8 feet, standard for a home built in the late 1980s. The IKEA PAX tower height of 92 7/8 inches left approximately 3 inches to the ceiling, a perfect size to finish with crown molding.
The IKEA PAX tower sizing was instrumental in deciding how much additional footage to take from the pantry. With the tower sizes selected, next came the process of choosing rod and shelf heights. Measurements were taken of different clothing categories to determine lengths for grouping garments, shoes, and items to be displayed on the top shelves.
Using the IKEA PAX Planning Tool
With towers selected and measurements in hand, it was time to use IKEA’s free planning software. The experience was better than expected and the tool is genuinely helpful.
To get started, go to the IKEA PAX planner page, click “open the PAX planner,” choose the shape of your room, and input the dimensions. Here are the tips that made the biggest difference:
The tool uses drag and drop functionality. As with everything else in life, there is a learning curve, but it becomes intuitive quickly.
- Use the filter tools to display only the options available in your chosen depth and height. This is the secret to not getting overwhelmed by the sheer number of combinations.
- Once finished with the design, the planner provides a complete list of all items needed for purchase.
- Save and print the plan. The tool provides a unique code to access the design again later.
- Add items to the shopping cart and select a store to see what is in stock and the exact aisle location.
- The renderings went through numerous edits, each time inching closer to the final vision.
The IKEA PAX Components
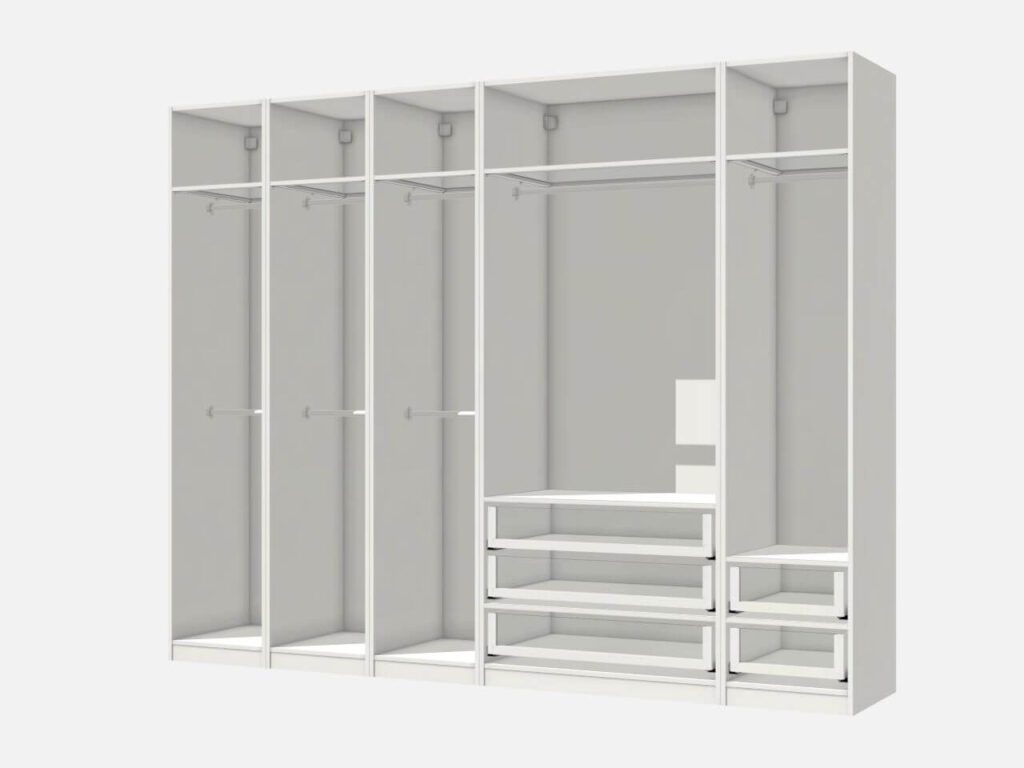
Left Side · 22 Inch Deep Towers for Hanging Clothes
IKEA COSTS – LEFT SIDE
1 Tower of 39″ X 22″ @ $160 = $160
4 Towers of 19″ X 22″ @ $130 = $520
3 Drawers of 39″ X 22″ @ $60 = $180
2 Drawers of 19″ X 22″ @ $50 = $100
1 Shelf of 39″ X 22″ @ 25.00 = $25
1 Shelf of 19″ X 22″ @ 15.00 = $15
4 Glass Shelves of 19″ X 22″ @ $30 = $120
1 Glass Shelf of 39″ X 22″ @ $40.00 = $40
TOTAL $1,160
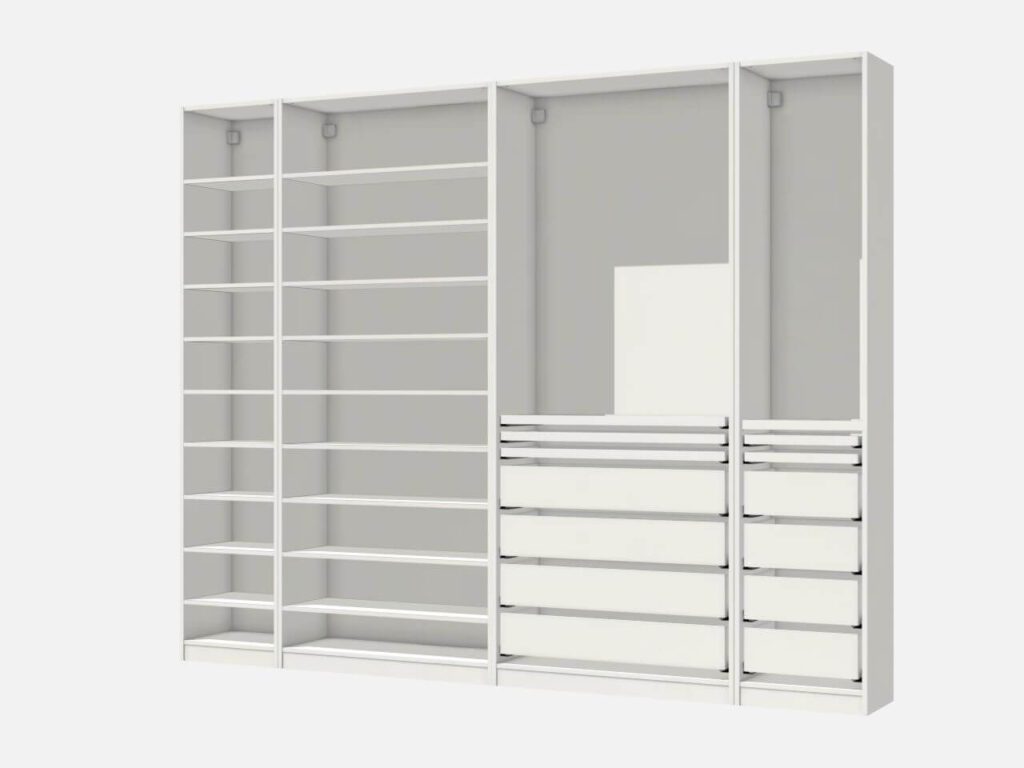
Right Side · 13 Inch Deep Towers for Shoes, Handbags, and Jewelry
IKEA COSTS – RIGHT SIDE
2 Towers of 19″ X 13″ @ $120 = $240
2 Towers of 39″ X 13″ @ 150.00 = $300
4 Drawers of 39″ X 13″ @ $35 = $140
4 Drawers of 19″ X 13″ @ $25.00 = $100
9 Shelves of 39″ X 13″ @ 15.00 = $135
9 Shelves of 19″ X 13″ @ 10.00 = $90
3 Pull-out of 39″ X 13″ @ $30.00 = $90
3 Pull-out of 19″ X 13″ @ $20.00 = $60
TOTAL $1,155
Note: IKEA prices are subject to change. Verify current pricing at ikea.com before purchasing.
The IKEA Komplement system, a sister to the PAX system, provides glass shelves for the 22 inch deep towers but not for the 13 inch towers. For the sake of uniformity, custom glass shelves were ordered for the towers on the right side of the closet.
Additionally, four Komplement drawers in two towers still allowed for three Komplement soft closing pull-outs above each set. Since there was room remaining under the hanging clothes in two towers on the left side of the closet, Komplement soft closing drawers and shelves were included there as well.
With deliveries from IKEA, a seasoned IKEA assembly person, and many hours, the closet began to take shape. One detail worth knowing before assembly: the towers had to be assembled upright inside the closet because of the limited clearance provided by the eight foot ceilings. It is not a beginner project and having an experienced assembly person from the start makes a significant difference.
The Marie Kondo Moment
The completed closet provided the perfect opportunity to apply the Marie Kondo method before moving anything in. If you are not familiar, check out her show Tidying Up on Netflix or read her book The Life-Changing Magic of Tidying Up. The principle is simple: go through every item and keep only what sparks joy. Everything else gets donated or given away.
After careful inspection, some shoes were instructed to take a walk. Some clothing items were still within their expiration dates but no longer in the rotation. Some hats had dutifully served their purpose. Homes were found for all discarded items. The result was a closet filled only with things genuinely worth displaying.
Styling the Finished Closet
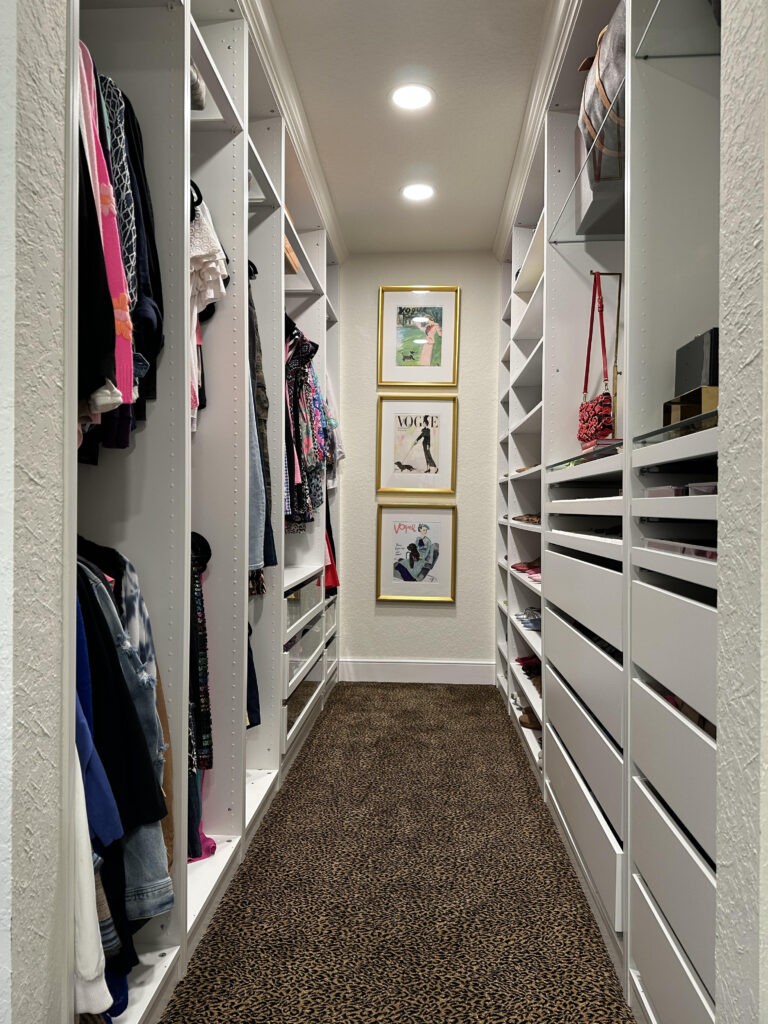
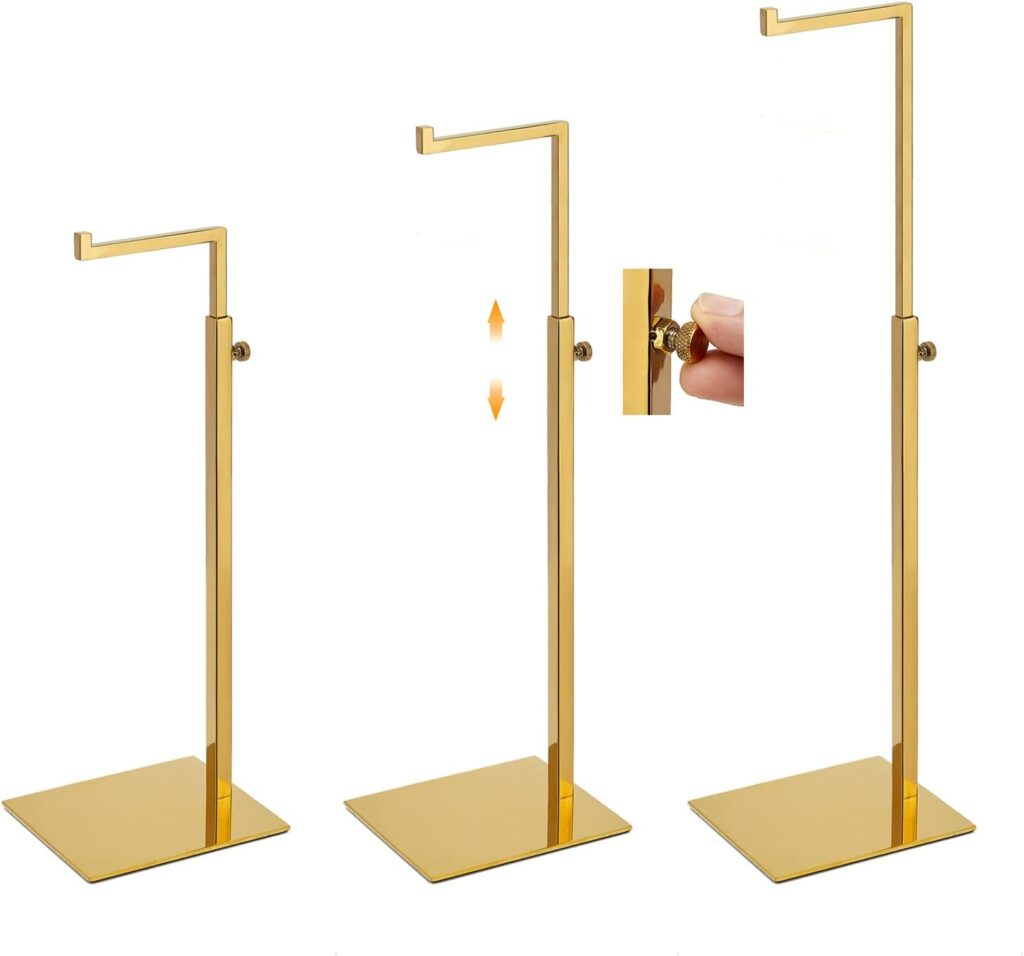
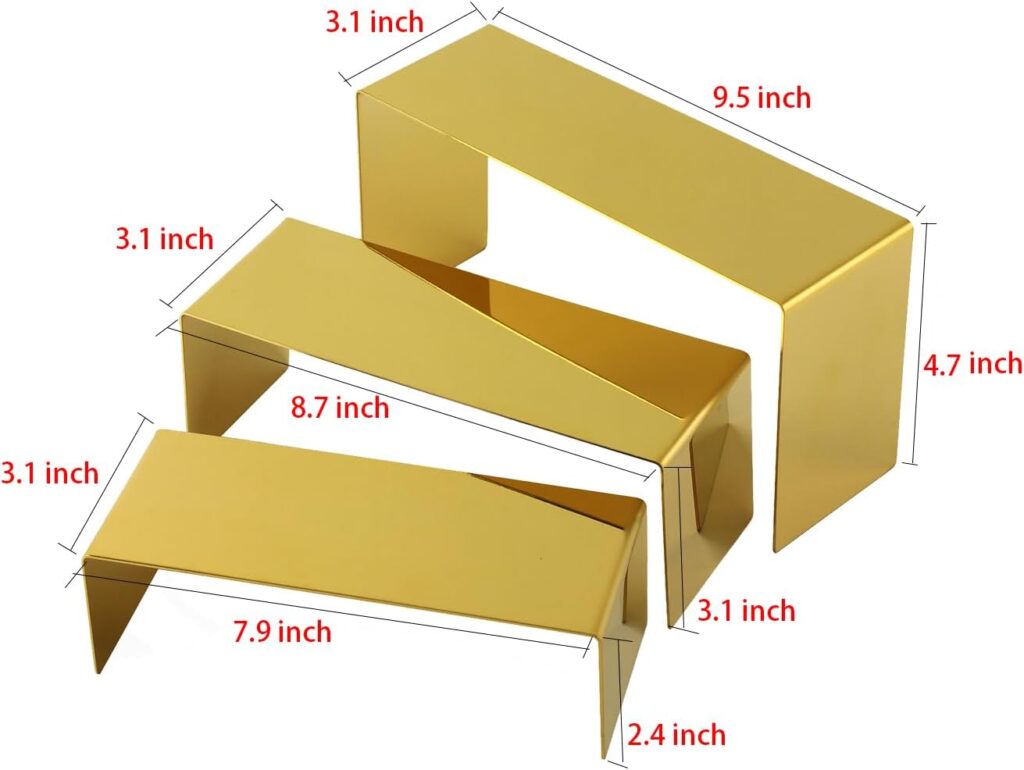
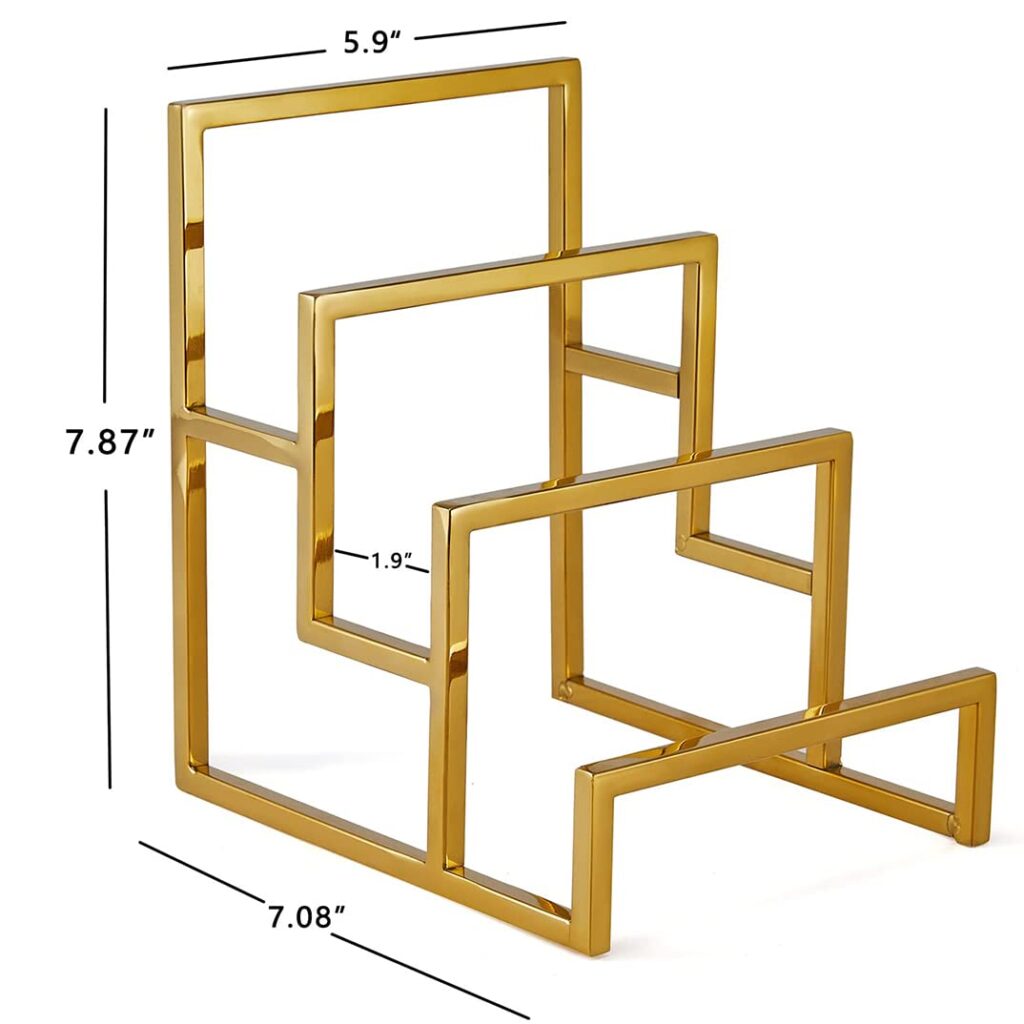
Once everything found a place, attention turned to the custom glass shelves. A collection of designer handbags demanded their own display, and Amazon delivered again with K Kaidiyin’s adjustable gold handbag display stand, gold riser display stands, and gold wallet display stand. A brass trimmed mirror and Vogue prints in gold frames from HomeGoods completed the look.
The floor covering required no deliberation whatsoever. Leopard carpet. Always neutral. Always right.
For all display and styling products used in the Casa Rosa closet, browse the Casa Rosa collection on my Amazon storefront.
What Would Be Done Differently
A few lessons worth passing along to anyone planning a similar project:
Order everything at once if possible. Multiple IKEA deliveries add time and coordination to an already complex project.
Hire an experienced IKEA assembly person from the start. This is not a beginner DIY project, particularly with 8 foot ceilings where towers must be assembled upright inside the closet due to limited clearance.
Budget more time than expected for the Variera cover plates. It is the most tedious part of the process and consistently underestimated.
Plan the lighting early. Closet lighting is easiest to address before towers are installed, not after.
Consider the hardware finish before purchasing any IKEA components. The standard silver finish touches everything from rods to drawer pulls, and upgrading requires sourcing alternatives early.
Final Costs
To the right is the itemized list of costs without decorative accessories.

Casa Rosa Close
The Casa Rosa closet remains one of the most satisfying spaces in the house, a project that went from a cramped walk-in to something genuinely beautiful with careful planning and a few smart upgrades. For more on the Casa Rosa renovation journey, take a look at the Orchid Display Rod at Casa Rosa: My Insider Guide for another detail-driven project on the porch, or follow along on the blog for everything else in progress.
— izzy