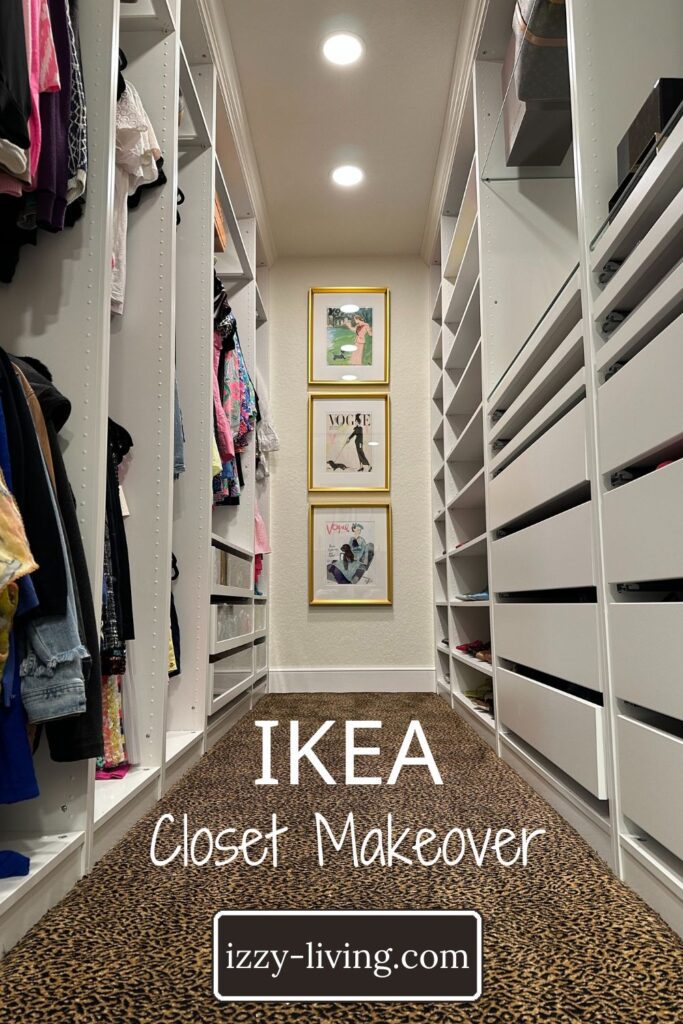
Are you ready to design an IKEA Closet System? Read all of the tips and tricks I learned designing a long and narrow closet using the IKEA Pax Closet System!
The design for the primary closet at Casa Rosa began prior to closing! Actually, the design began during the open house tour.
The primary suite provided two closets. A 2′ X 5′ standard reach-in closet with a single clothing rod and shelf with a set of louver bifold doors was located at the entrance of the suite. A 6′ X 6′ walk-in closet with a wraparound clothing rod, two shelves, and a louver bifold door was located to the rear of the bedroom within the bathroom area.
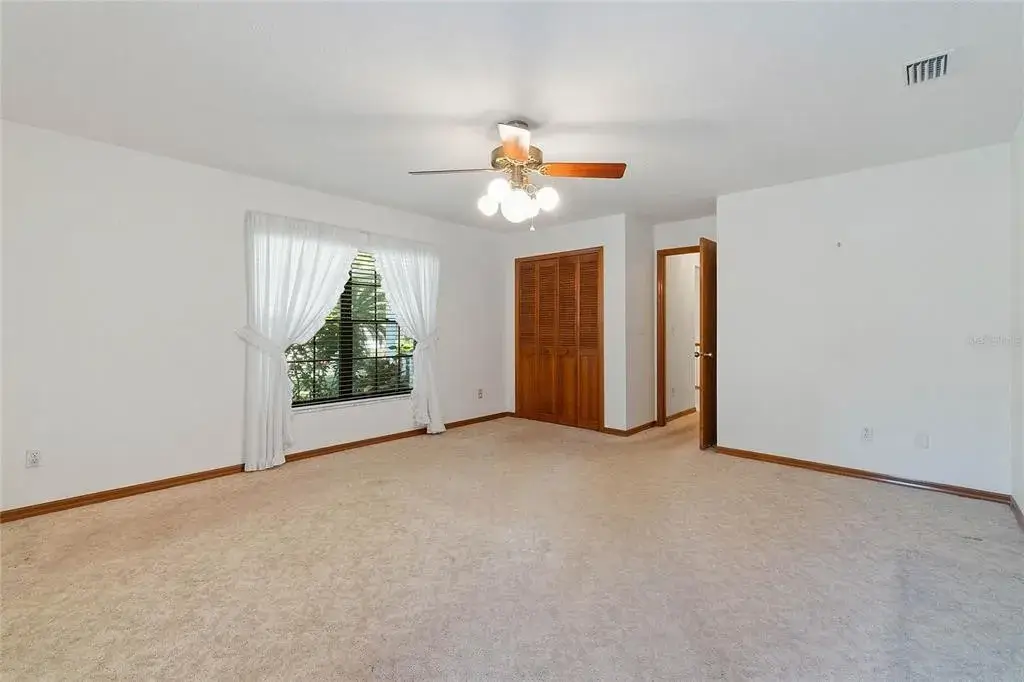
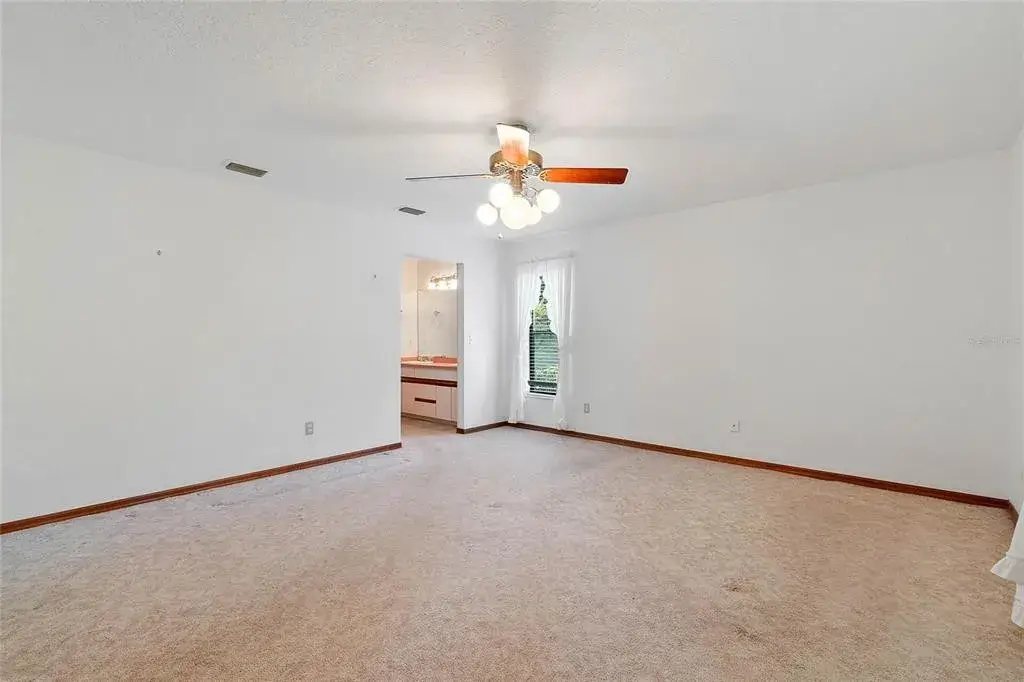
The reach-in closet was demoed and the square footage was added to the bedroom leaving only the walk-in closet. Unfortunately, that closet was not large enough. Fortunately, behind the closet and sharing a wall was a massive pantry mimicking the size of the closet. The adjoining wall was knocked down and the closet gained an additional 4′, upping its size to a respectable 10′ X 6′.
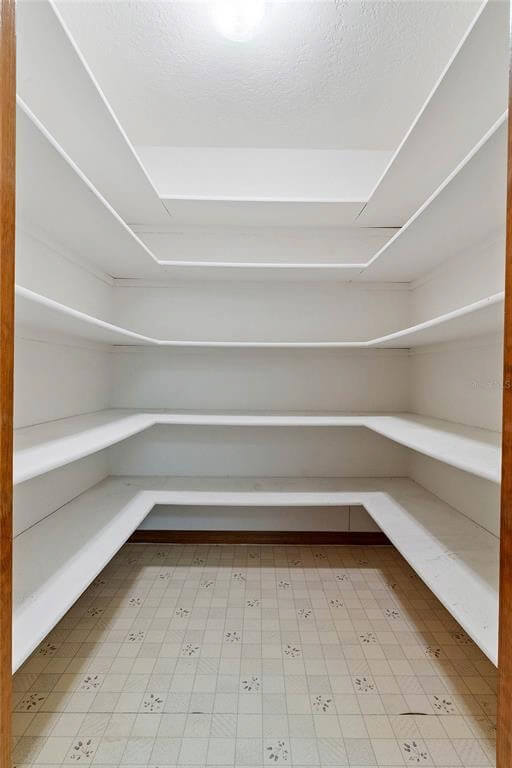
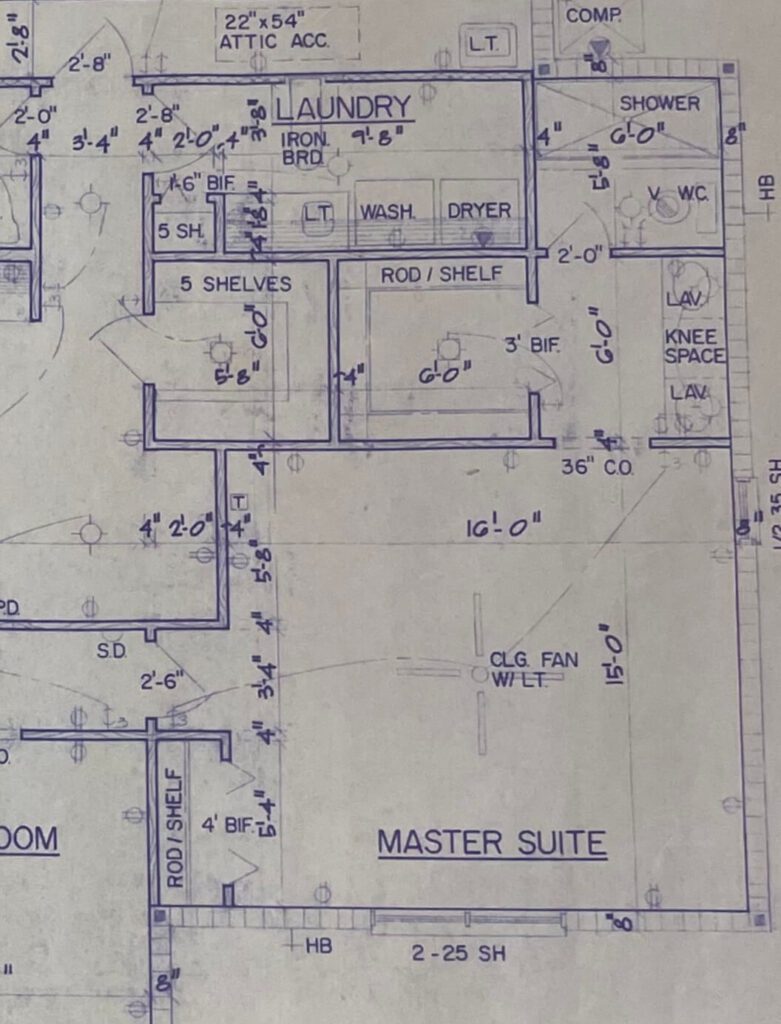

Prior to the closet design many blogs, articles, Instagram reels, and Pinterest pins were scoured and details were noted. The idea of designing, building, and filling a custom closet was thrilling. The first obstacle was the width of the closet at 6′.
The IKEA Pax towers are only sold in 22″ and 13″ depths. Using 22″ deep towers on both sides of the closet provided only 28″ of clearance in between towers, making it too shallow of an area in which to open drawers.
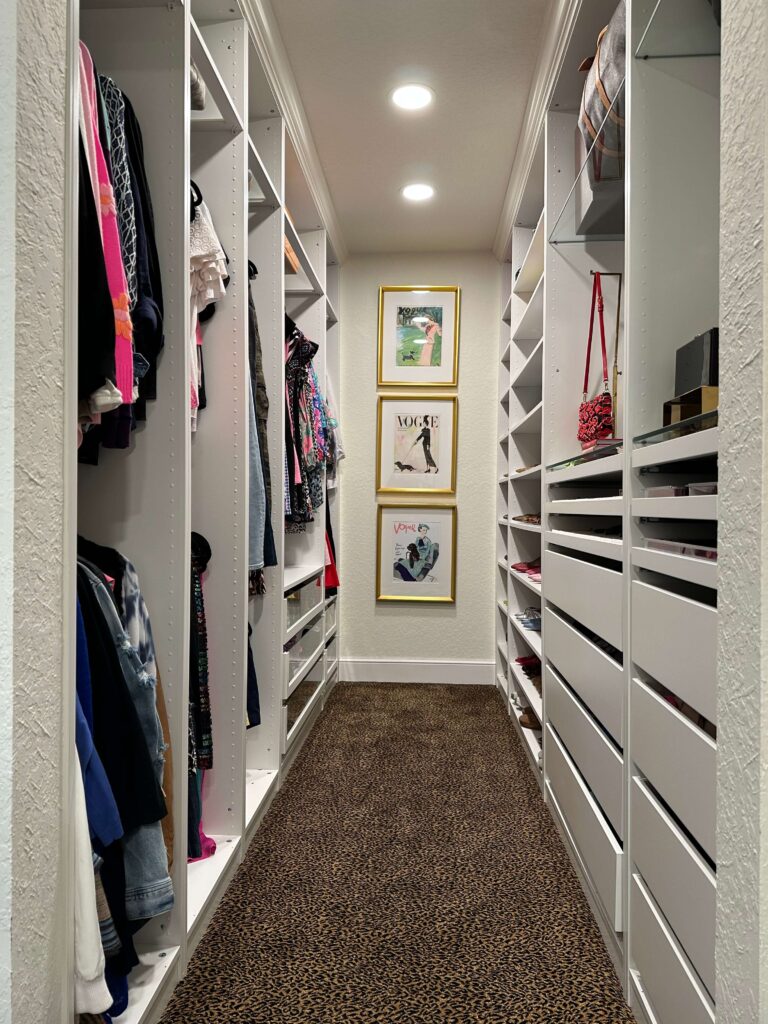
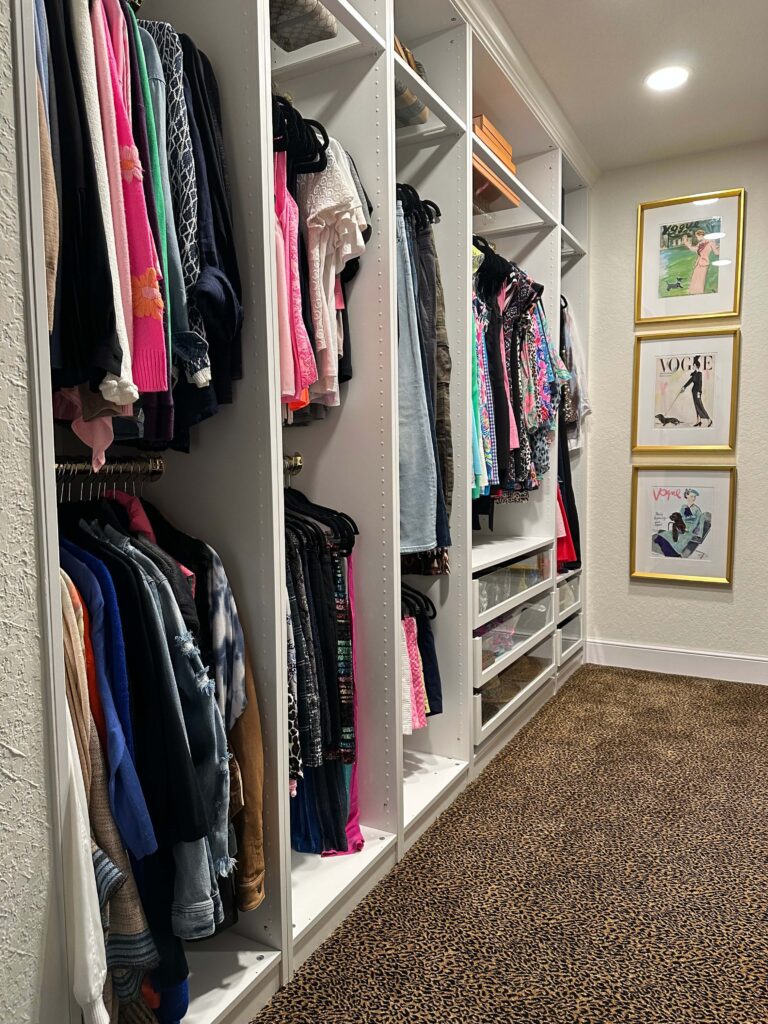
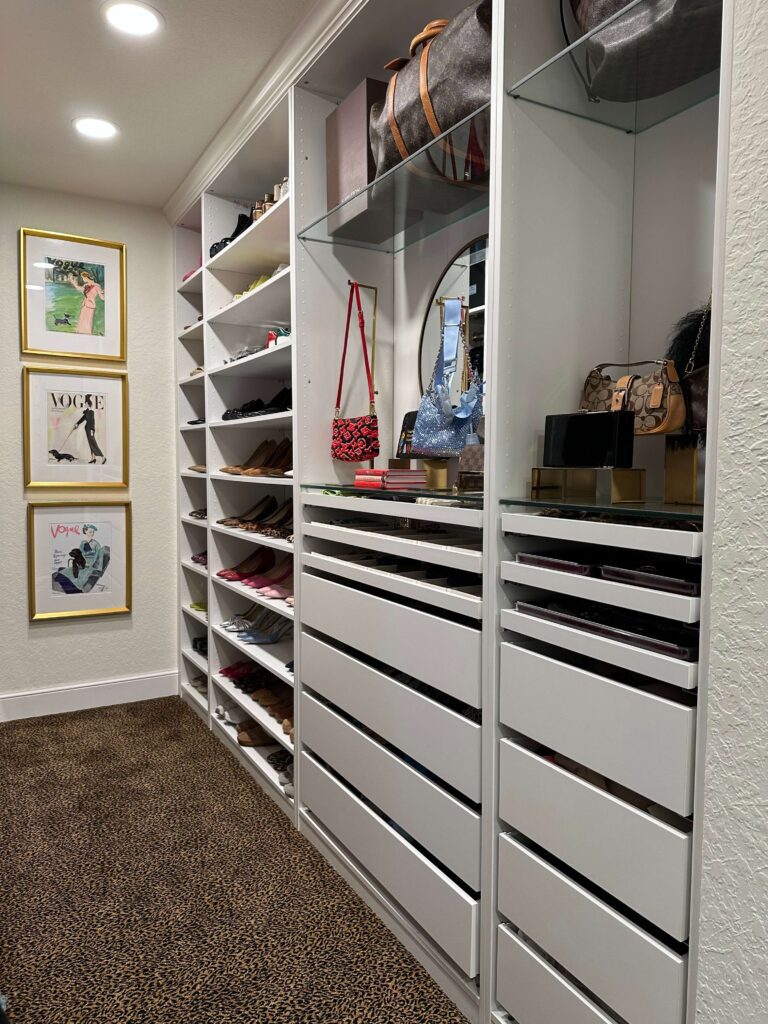
So, it was settled, the left side would house the 22″ deep towers for hanging clothes and the right side, seen first when entering the bathroom vestibule, would house the 13″ deep towers for shoes, handbags, and jewelry.
Once you narrow down the height and depth, all you need to play around with is the width.
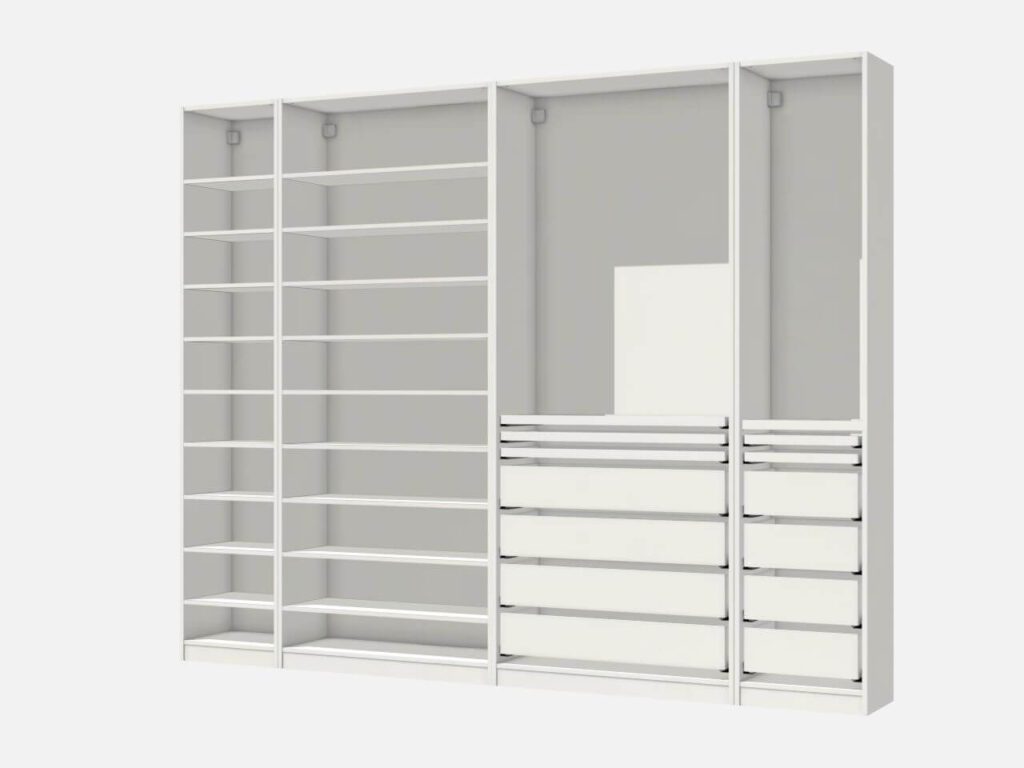
With pen to paper the first glimpse of the closet was created. The generous length allowed for one 39″ tower and four 19″ towers, filling approximately 115″ of the 120″ available on the left side. In actuality, the IKEA Pax units are 39 3/8″ and 19 5/8″.
Using a calculator, the five towers totaled approximately 118″. This left 2″ or a 1″ gap on each side of the end towers, a small space to cover with trim. The right side of the closet allowed for two 39″ and two 19″ towers leaving approximately the same gap on both sides. The ceiling height was at the expected 8′ for a house built in the late 80s. The IKEA Pax tower height of 92 7/8″ left a remainder of approximately 3″ to the ceiling, a perfect size to finish with crown molding.
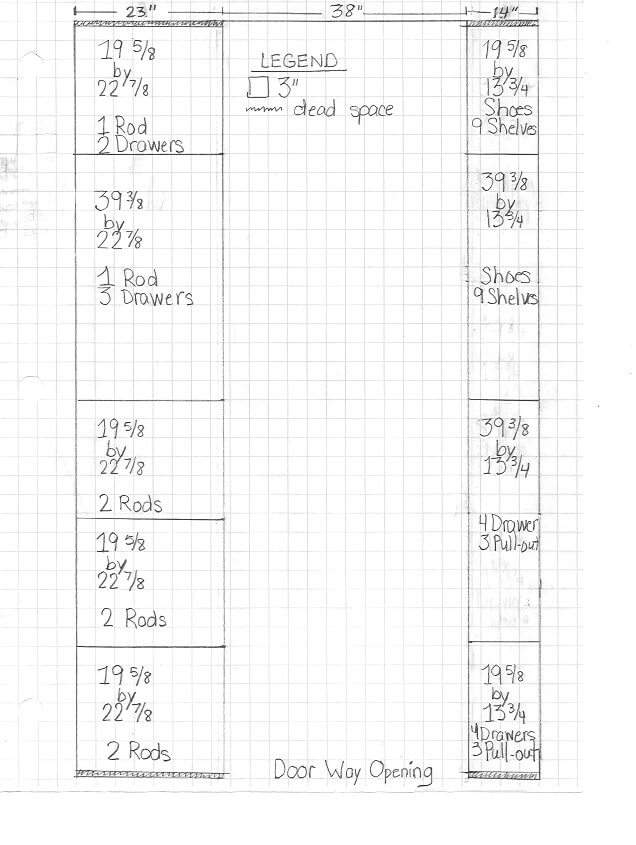
Final hand-drawn design of towers and placement.
The IKEA Pax tower sizing was instrumental in deciding the amount of additional footage to steal from the pantry.
With the tower sizes selected, next was the process of choosing the rod and shelf heights. Naturally, measurements were taken of different clothing categories for lengths in which to group garments, shoes, and items to be displayed on the top shelves.
With the towers selected and measurements procured it was time to utilize IKEA’s free planning software. The experience was better than expected and the tool is very helpful. Once you land on the planner page, click “open the PAX planner”, choose the shape of your room and input the dimensions.
Tips to Using the IKEA CLoset Designing Tool:
- The tool uses “drag and drop” functionality. Just as with everything else in life…there is a learning curve.
- Using the filter tools to only display the options available is the secret to not getting overwhelmed.
- Once finished with the design, the planner provides a list of all items needed for purchase.
- Save and print your plan. The tool will provide a unique code to come access your hard work.
- Add the items to your shopping cart. If you select your store, you will see the items in stock and their location.
The renderings went through numerous edits, each time inching closer to perfection, until the metamorphosis was complete!
IKEA COSTS – LEFT SIDE
1 Tower of 39″ X 22″ @ $160 = $160
4 Towers of 19″ X 22″ @ $130 = $520
3 Drawers of 39″ X 22″ @ $60 = $180
2 Drawers of 19″ X 22″ @ $50 = $100
1 Shelf of 39″ X 22″ @ 25.00 = $25
1 Shelf of 19″ X 22″ @ 15.00 = $15
4 Glass Shelves of 19″ X 22″ @ $30 = $120
1 Glass Shelf of 39″ X 22″ @ $40.00 = $40
TOTAL $1,160
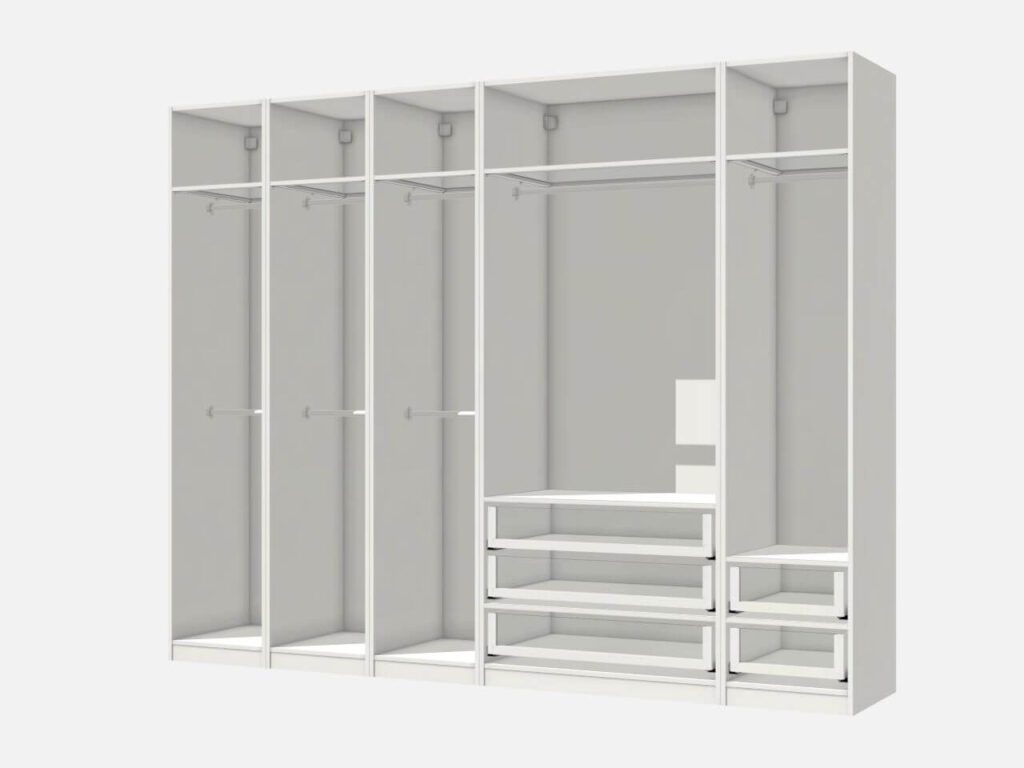
The IKEA Komplement system, a sister to the Pax system, provides glass shelves for the 22″ deep towers but not for the 13″ towers. For the sake of uniformity, custom glass shelves were ordered for the towers on the right side of the closet.
Additionally, four Komplement drawers in two towers still allowed for three Komplement soft closing pull-outs above each set. Since there was room remaining under the hanging clothes in two towers on the left side of the closet, Komplement soft closing drawers and shelves were included.
IKEA COSTS – RIGHT SIDE
2 Towers of 19″ X 13″ @ $120 = $240
2 Towers of 39″ X 13″ @ 150.00 = $300
4 Drawers of 39″ X 13″ @ $35 = $140
4 Drawers of 19″ X 13″ @ $25.00 = $100
9 Shelves of 39″ X 13″ @ 15.00 = $135
9 Shelves of 19″ X 13″ @ 10.00 = $90
3 Pull-out of 39″ X 13″ @ $30.00 = $90
3 Pull-out of 19″ X 13″ @ $20.00 = $60
TOTAL $1,155
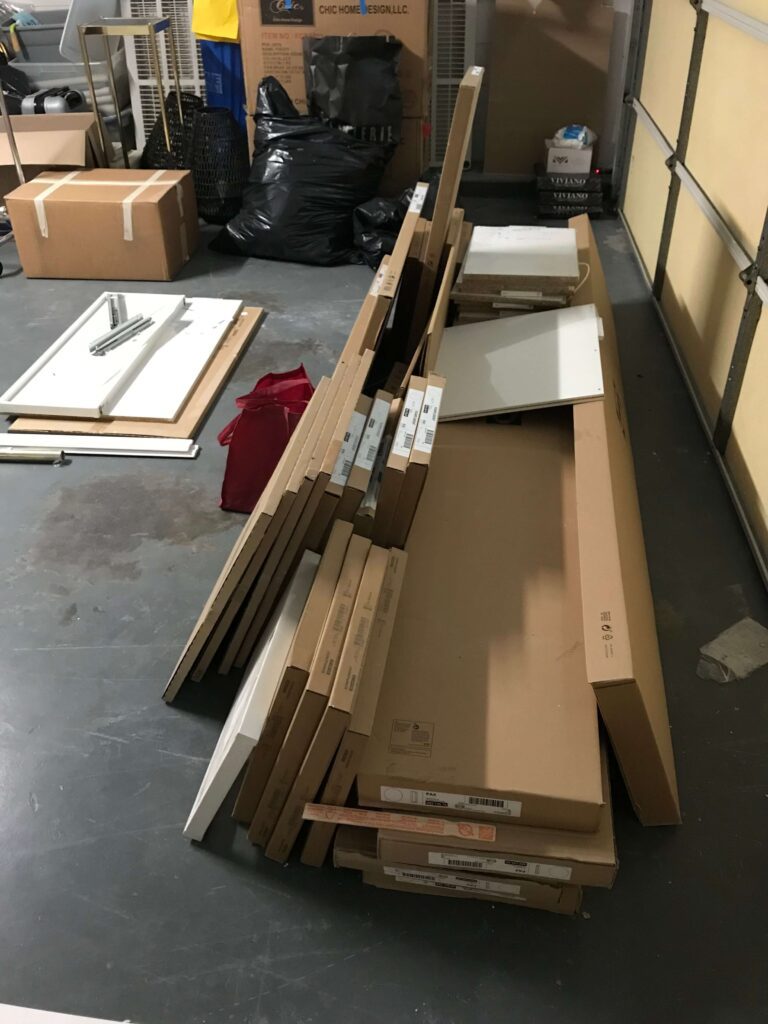
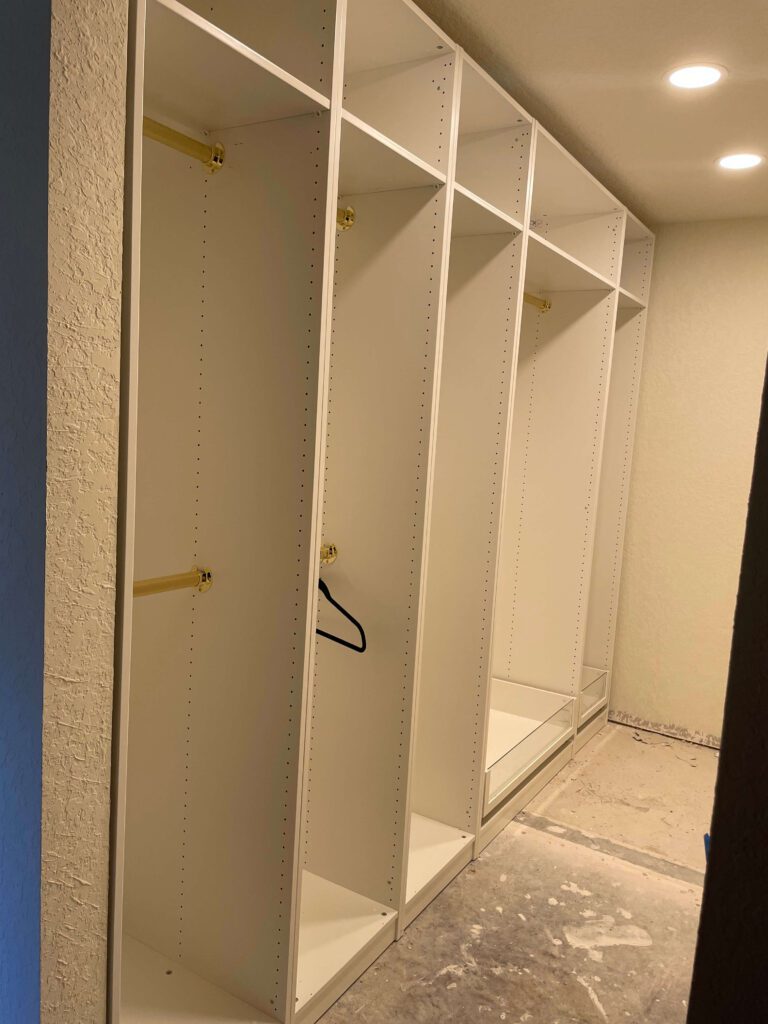
With deliveries from IKEA, a seasoned IKEA assembly person, and many hours, the closet began to take shape! A pesky detail was that the towers had to be assembled upright inside the closet because of the small clearance provided by the eight foot ceilings.

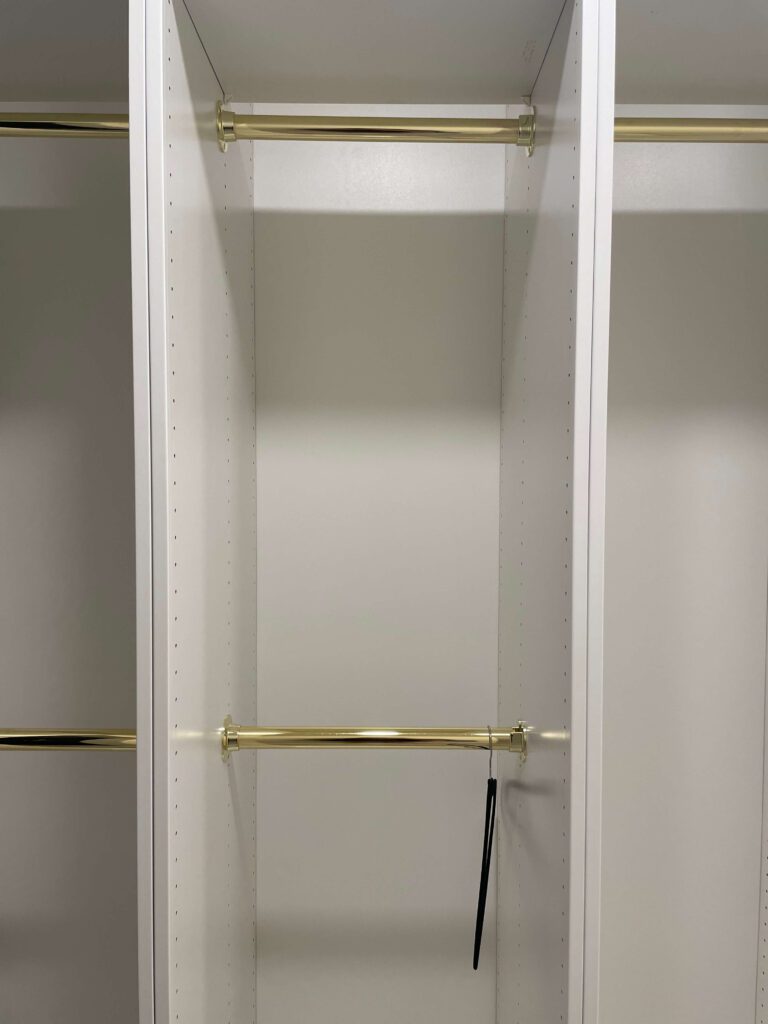

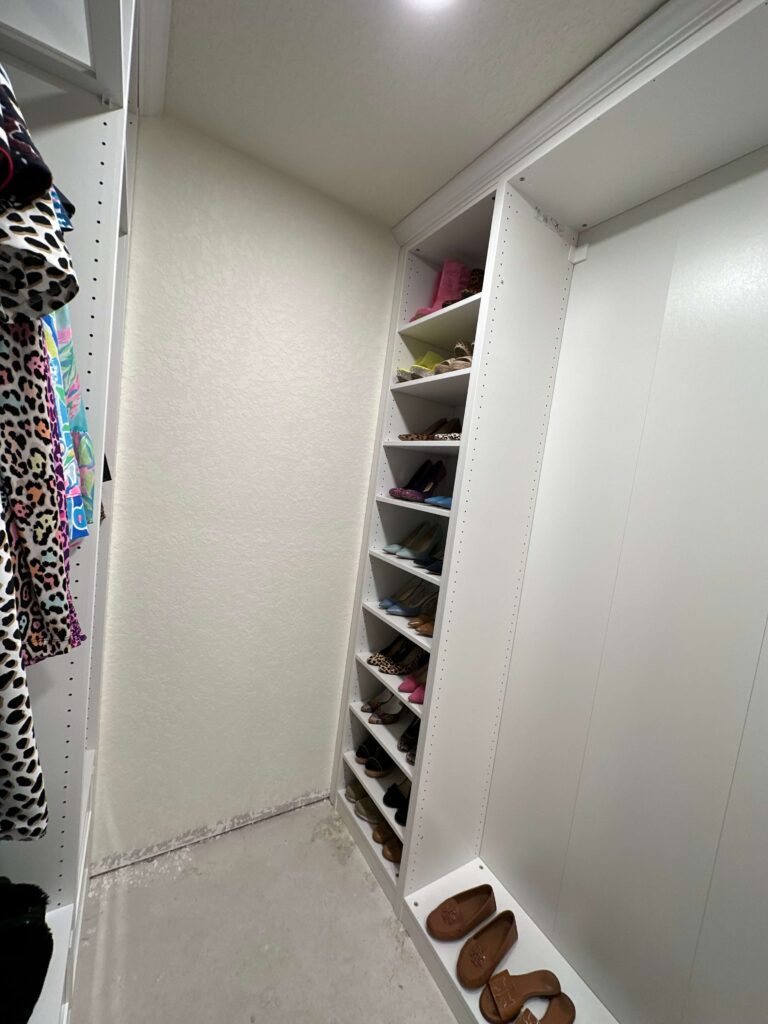
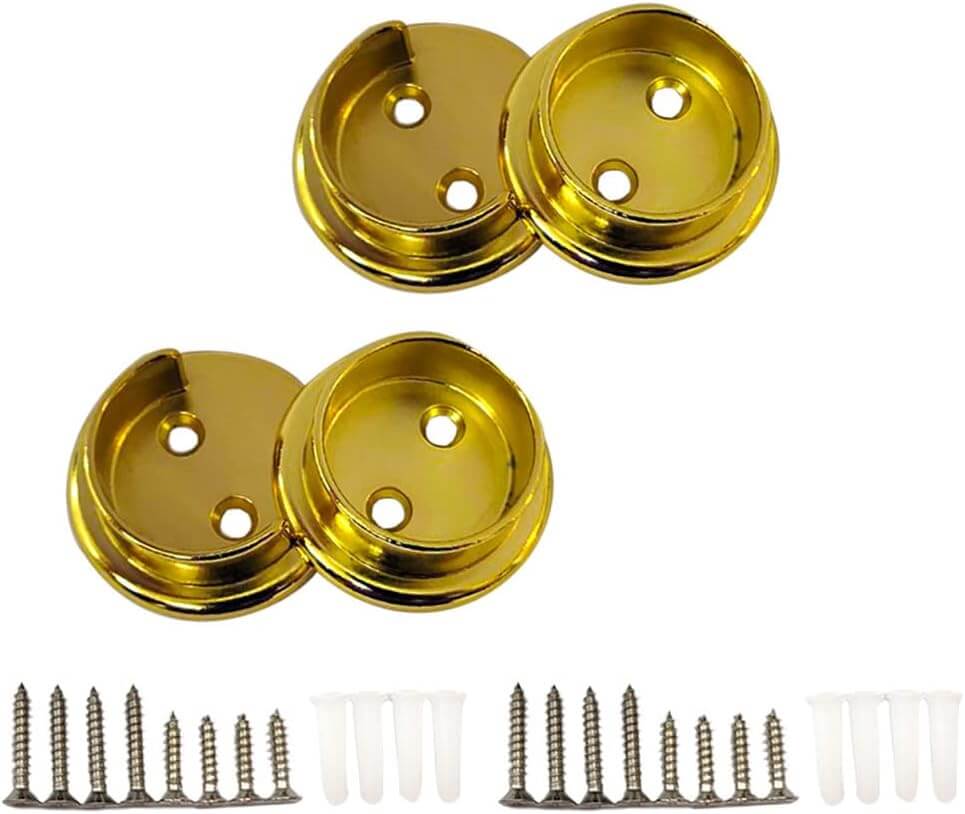
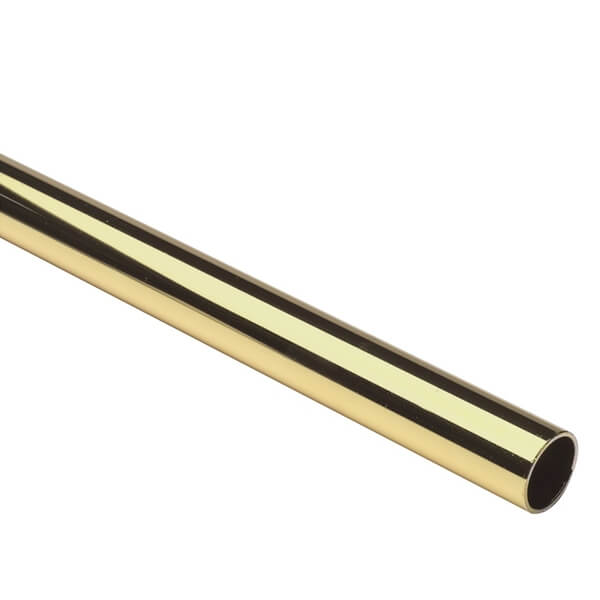
The IKEA rods and rod sockets fell short of a warm gold vision, the rods were silver. Amazon provided a gorgeously sleek alternative, a 72″ polished brass closet rod by Lido Designs along with the coordinating QCAA polished brass rod sockets.
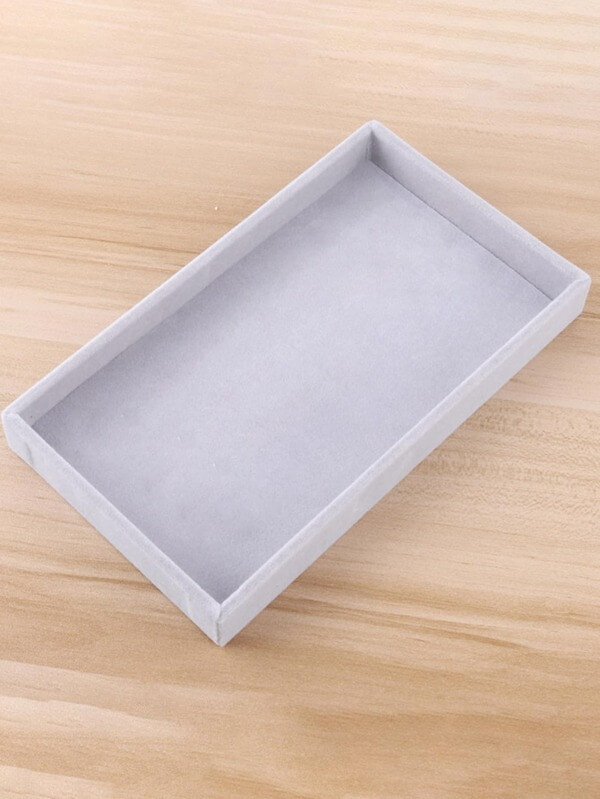
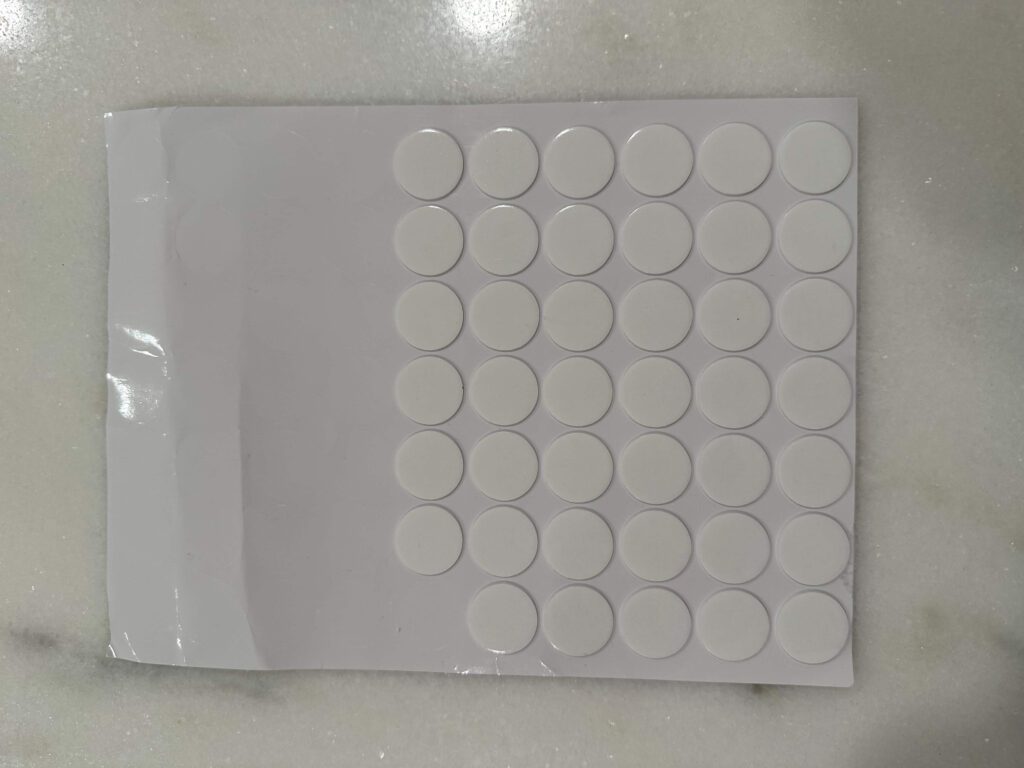
In addition, the IKEA Komplement dividers and inserts for drawers and pull-outs were grey which again clashed with the warm design aesthetic. Solid beige-colored jewelry trays were purchased Shein to display sunglasses and jewelry. Since the trays were not custom to IKEA, there was open space at the edge of the pull-outs. An adhesive stick-on underneath each tray prevented them from shifting when the pull-out was used.
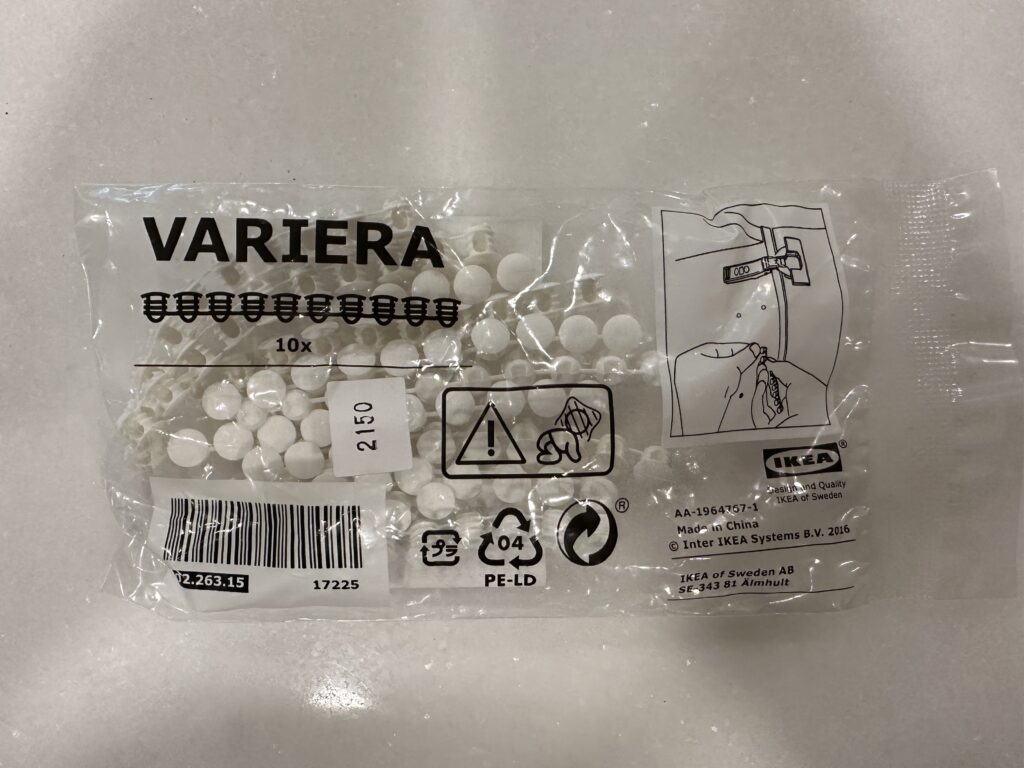
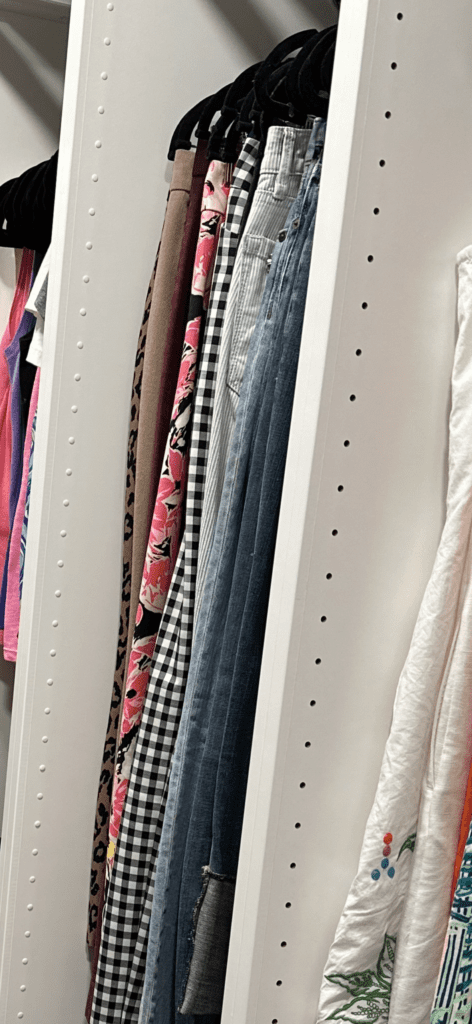
Amazon provided more alternatives for organization in the Kocuos honeycomb separator adjustable drawer divider and the Whitmor stackable jewelry trays which fit considerably well in the smaller of the pull-out shelves providing organization for small jewelry items. Lastly, there are approximately 200 holes in each IKEA tower which require IKEA Variera cover plates. The task is tiresome and the repetition delivers a sometimes painful experience but must be completed for a seamless look.
This website uses affiliate links which may earn a commission for purchases at no additional cost to you.
There was no time wasted on selecting a floor covering…the jaw dropping, always neutral, leopard carpet!
The closet was built and the bills were tallied. It was finally time to begin moving the displaced clothing, shoes, jewelry, hats, belts, sunglasses, and handbags to their new home. This move provided the perfect time to take inventory at what items would be granted access within the highly coveted new walls.
This was the perfect time to Mari Kondo the heck out of my stuff! If you are not familiar with the Mari Kondo method, check out her show Tidying Up on Netflix, or read her book The Life-Changing Magic of Tidying Up. Simply, you go through all of your items and only keep and organize those items which “spark joy”. The rest, you let go, donate or give away.
After careful inspection, some shoes were instructed to take a walk, some clothing items were still within their expiration dates but no longer in the rotation, and some hats had dutifully served out their purpose. Homes were found for all discarded items.

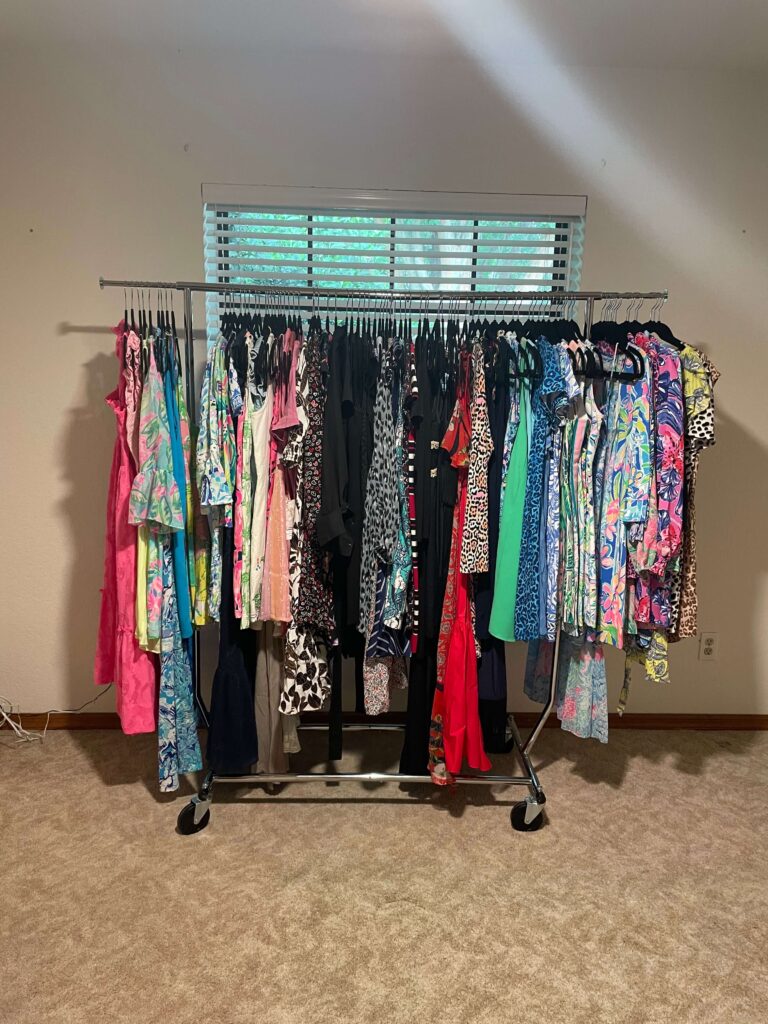
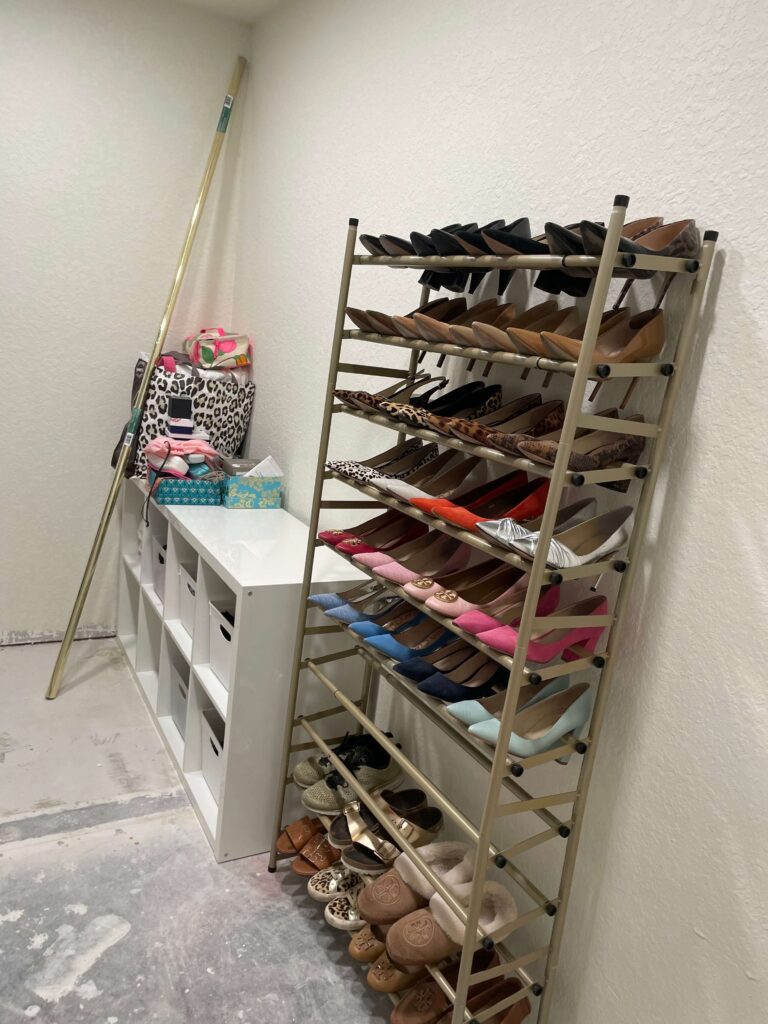
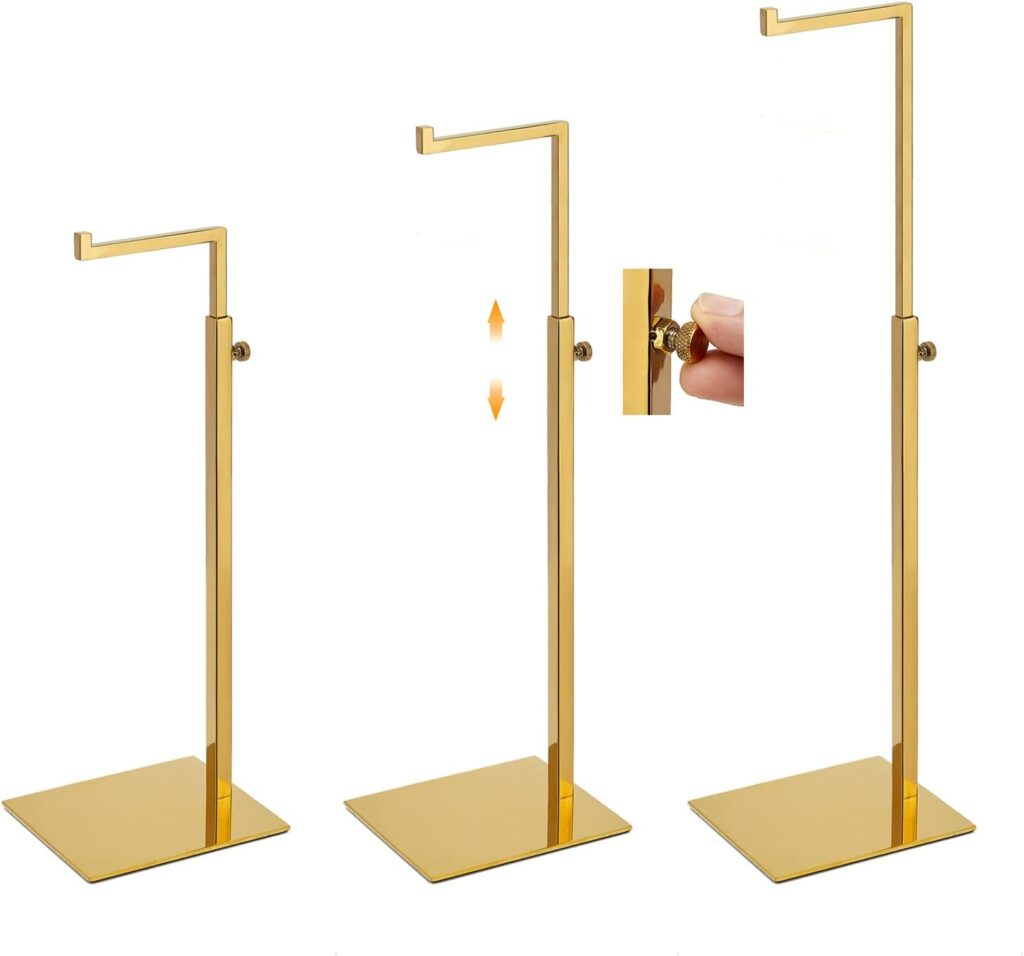
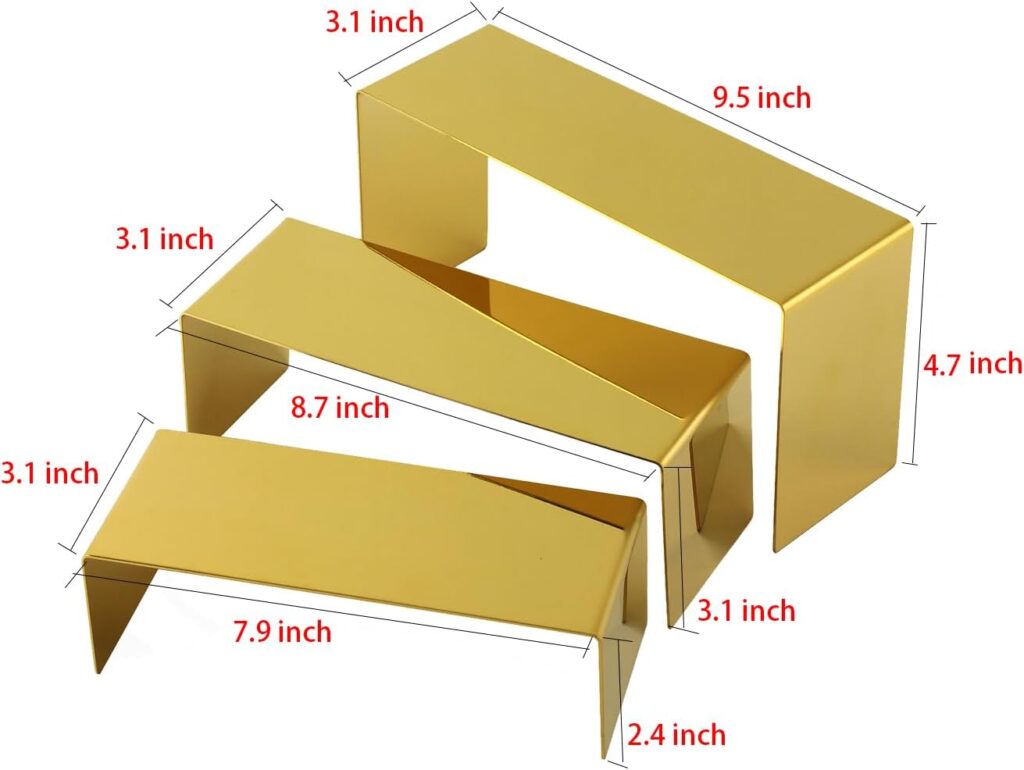
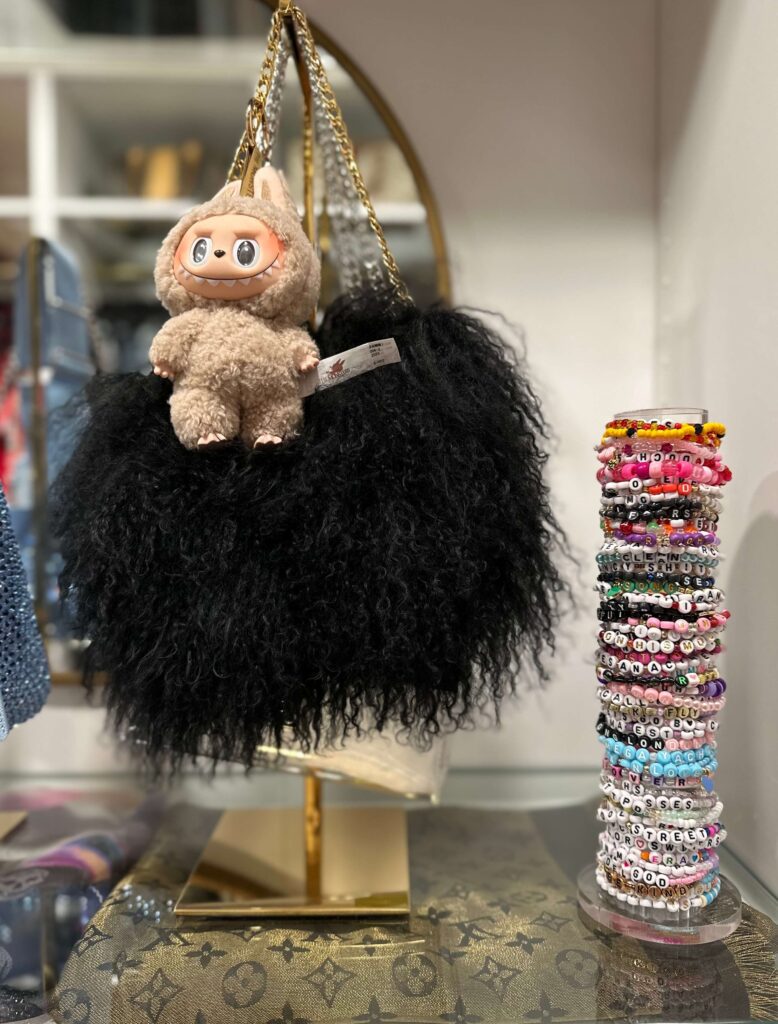
Once everything found a place, attention was devoted to accessorizing the custom glass shelves. The collection of designer handbags demanded their own thrones and a mirror for reflection. Amazon again, did not disappoint with K Kaidiyin’s adjustable gold handbag display stand, gold riser display stand, and gold wallet display stand. The brass trimmed mirror and the Vogue prints in gold frames were found at Home Goods.
To the right is the itemized list of costs without decorative accessories.

Until next time…
· izzy
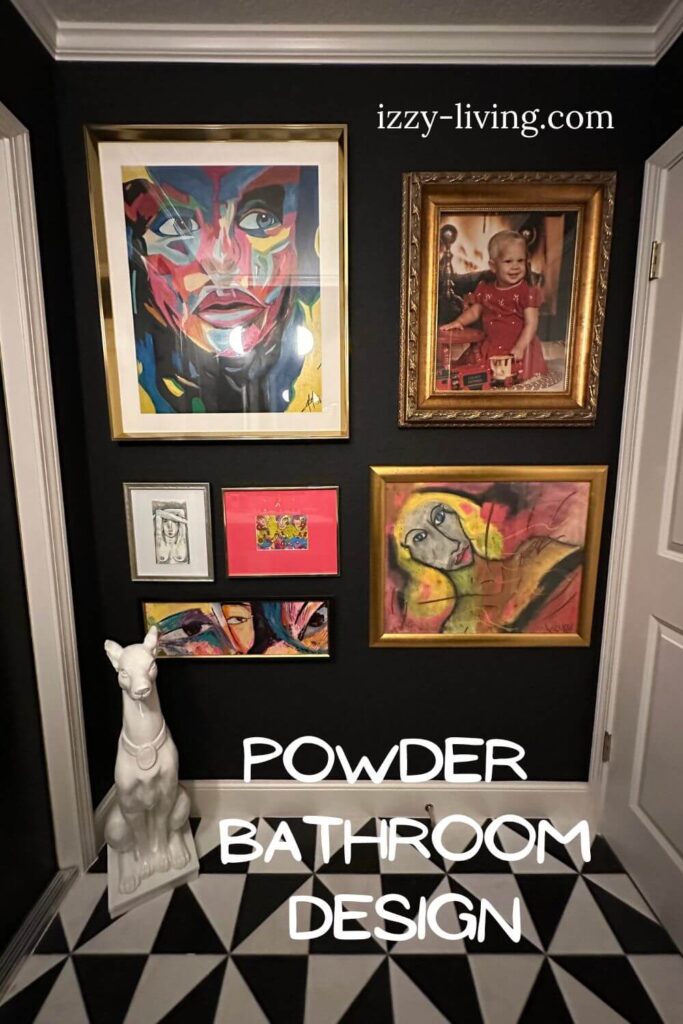
Just inside the garage door at Casa Rosa is an almost 6’ by 6’ powder bathroom which doubles as a pool bath. This powder room sat untouched from its original creation in 1988. It sported the uber popular white pedestal sink, linoleum floors, and little flower wallpaper.
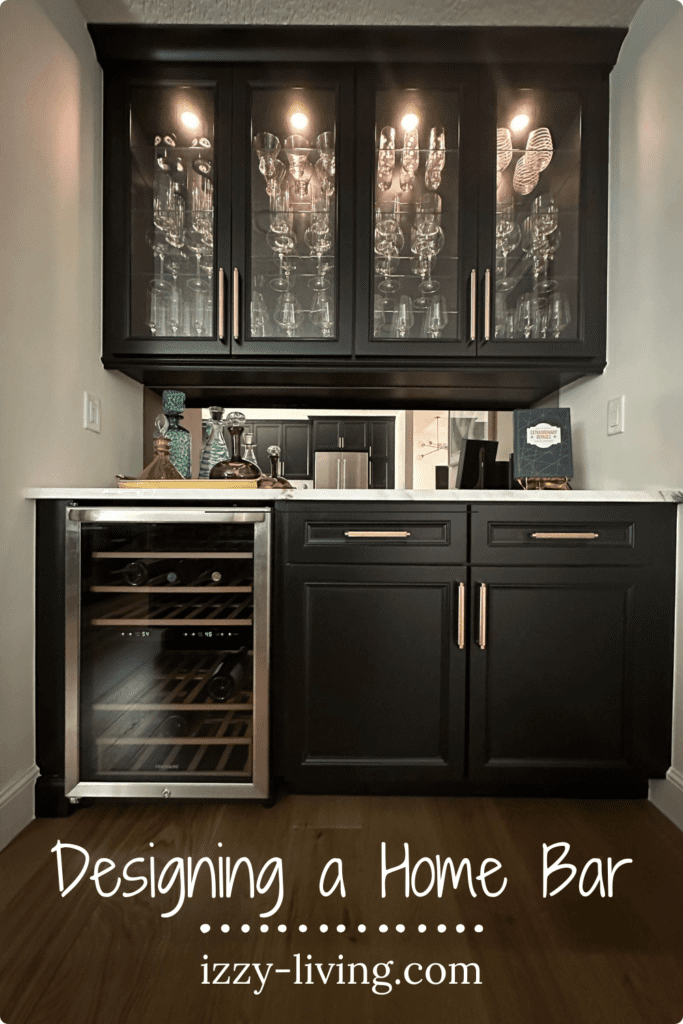
Tucked away in a 1988 eat-in kitchen area is now, simply stated, Bar Bliss. A respectable 5′ 8″ X 4′ 8″ rectangular nook flanked the backside of the kitchen, a textbook location in which to design an unadulterated bar.
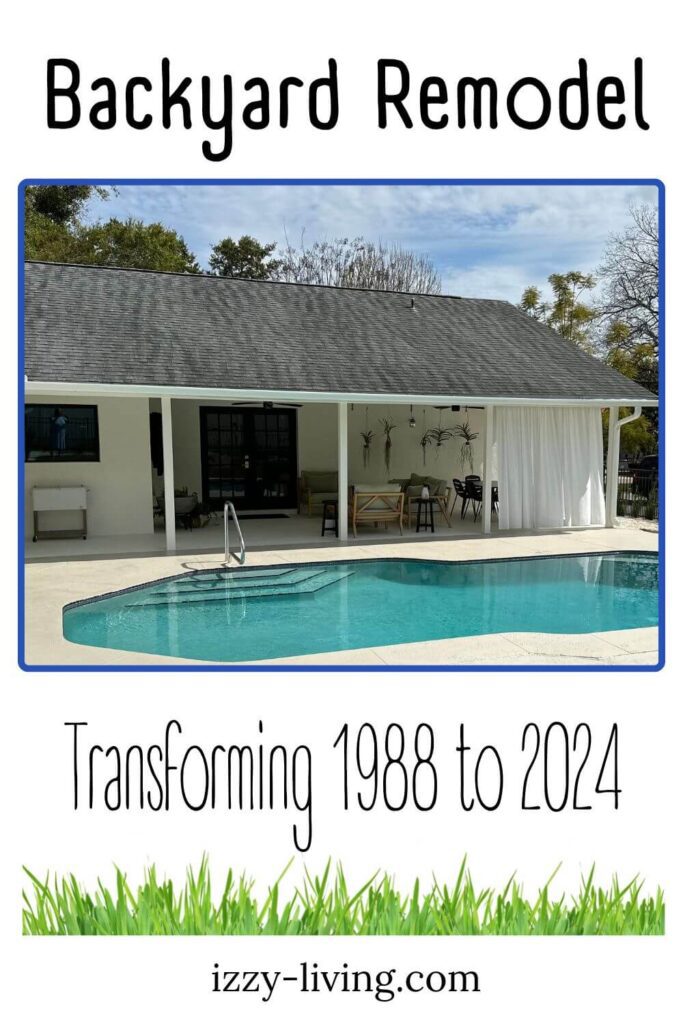
Casa Rosa is a 1988 custom built pool home with 2 bedrooms 2 1/2 bathrooms on a 1/4 acre. This post is all about the remodel story of the back porch and backyard.

